Furniture `design Project: Adirondack Chair
with Master Furniture Designer - Andrew Lee

The Build
1. Identify Wood
Used large boards from corner of workshop
2. Cut boards to length with Mitre Saw
Used jig to identify the length of the necessary parts
Marked lengths on with pen and a tri-square
Cut with a mitre saw leaving some space to the line considering the kerf of the saw
3. Draw on boards with jig
Drew around the jigs on the boards
Fitted two back slats on each part to maximise use of material
2 x big back legs
2 x front legs
Top and bottom back support sections
4. Use bandsaw to cut close to jig line
Used the bandsaw to cut the curves in the large back leg parts
Used bandsaw to cut the back slats down middle line
Used bandsaw to cut curved back sections
5. Use router to smooth edges / curve edges
Smoothed edges of every part
Ensured that the useful face is considered so only required ones are curved
6. Cut slats using table saw
Cut larger parts of wood to correct size using mitre saw
3 seat slats per cut
Use the table saw to cut the individual slats
Ensure hand part is used to be safe - keep fingers away from saw
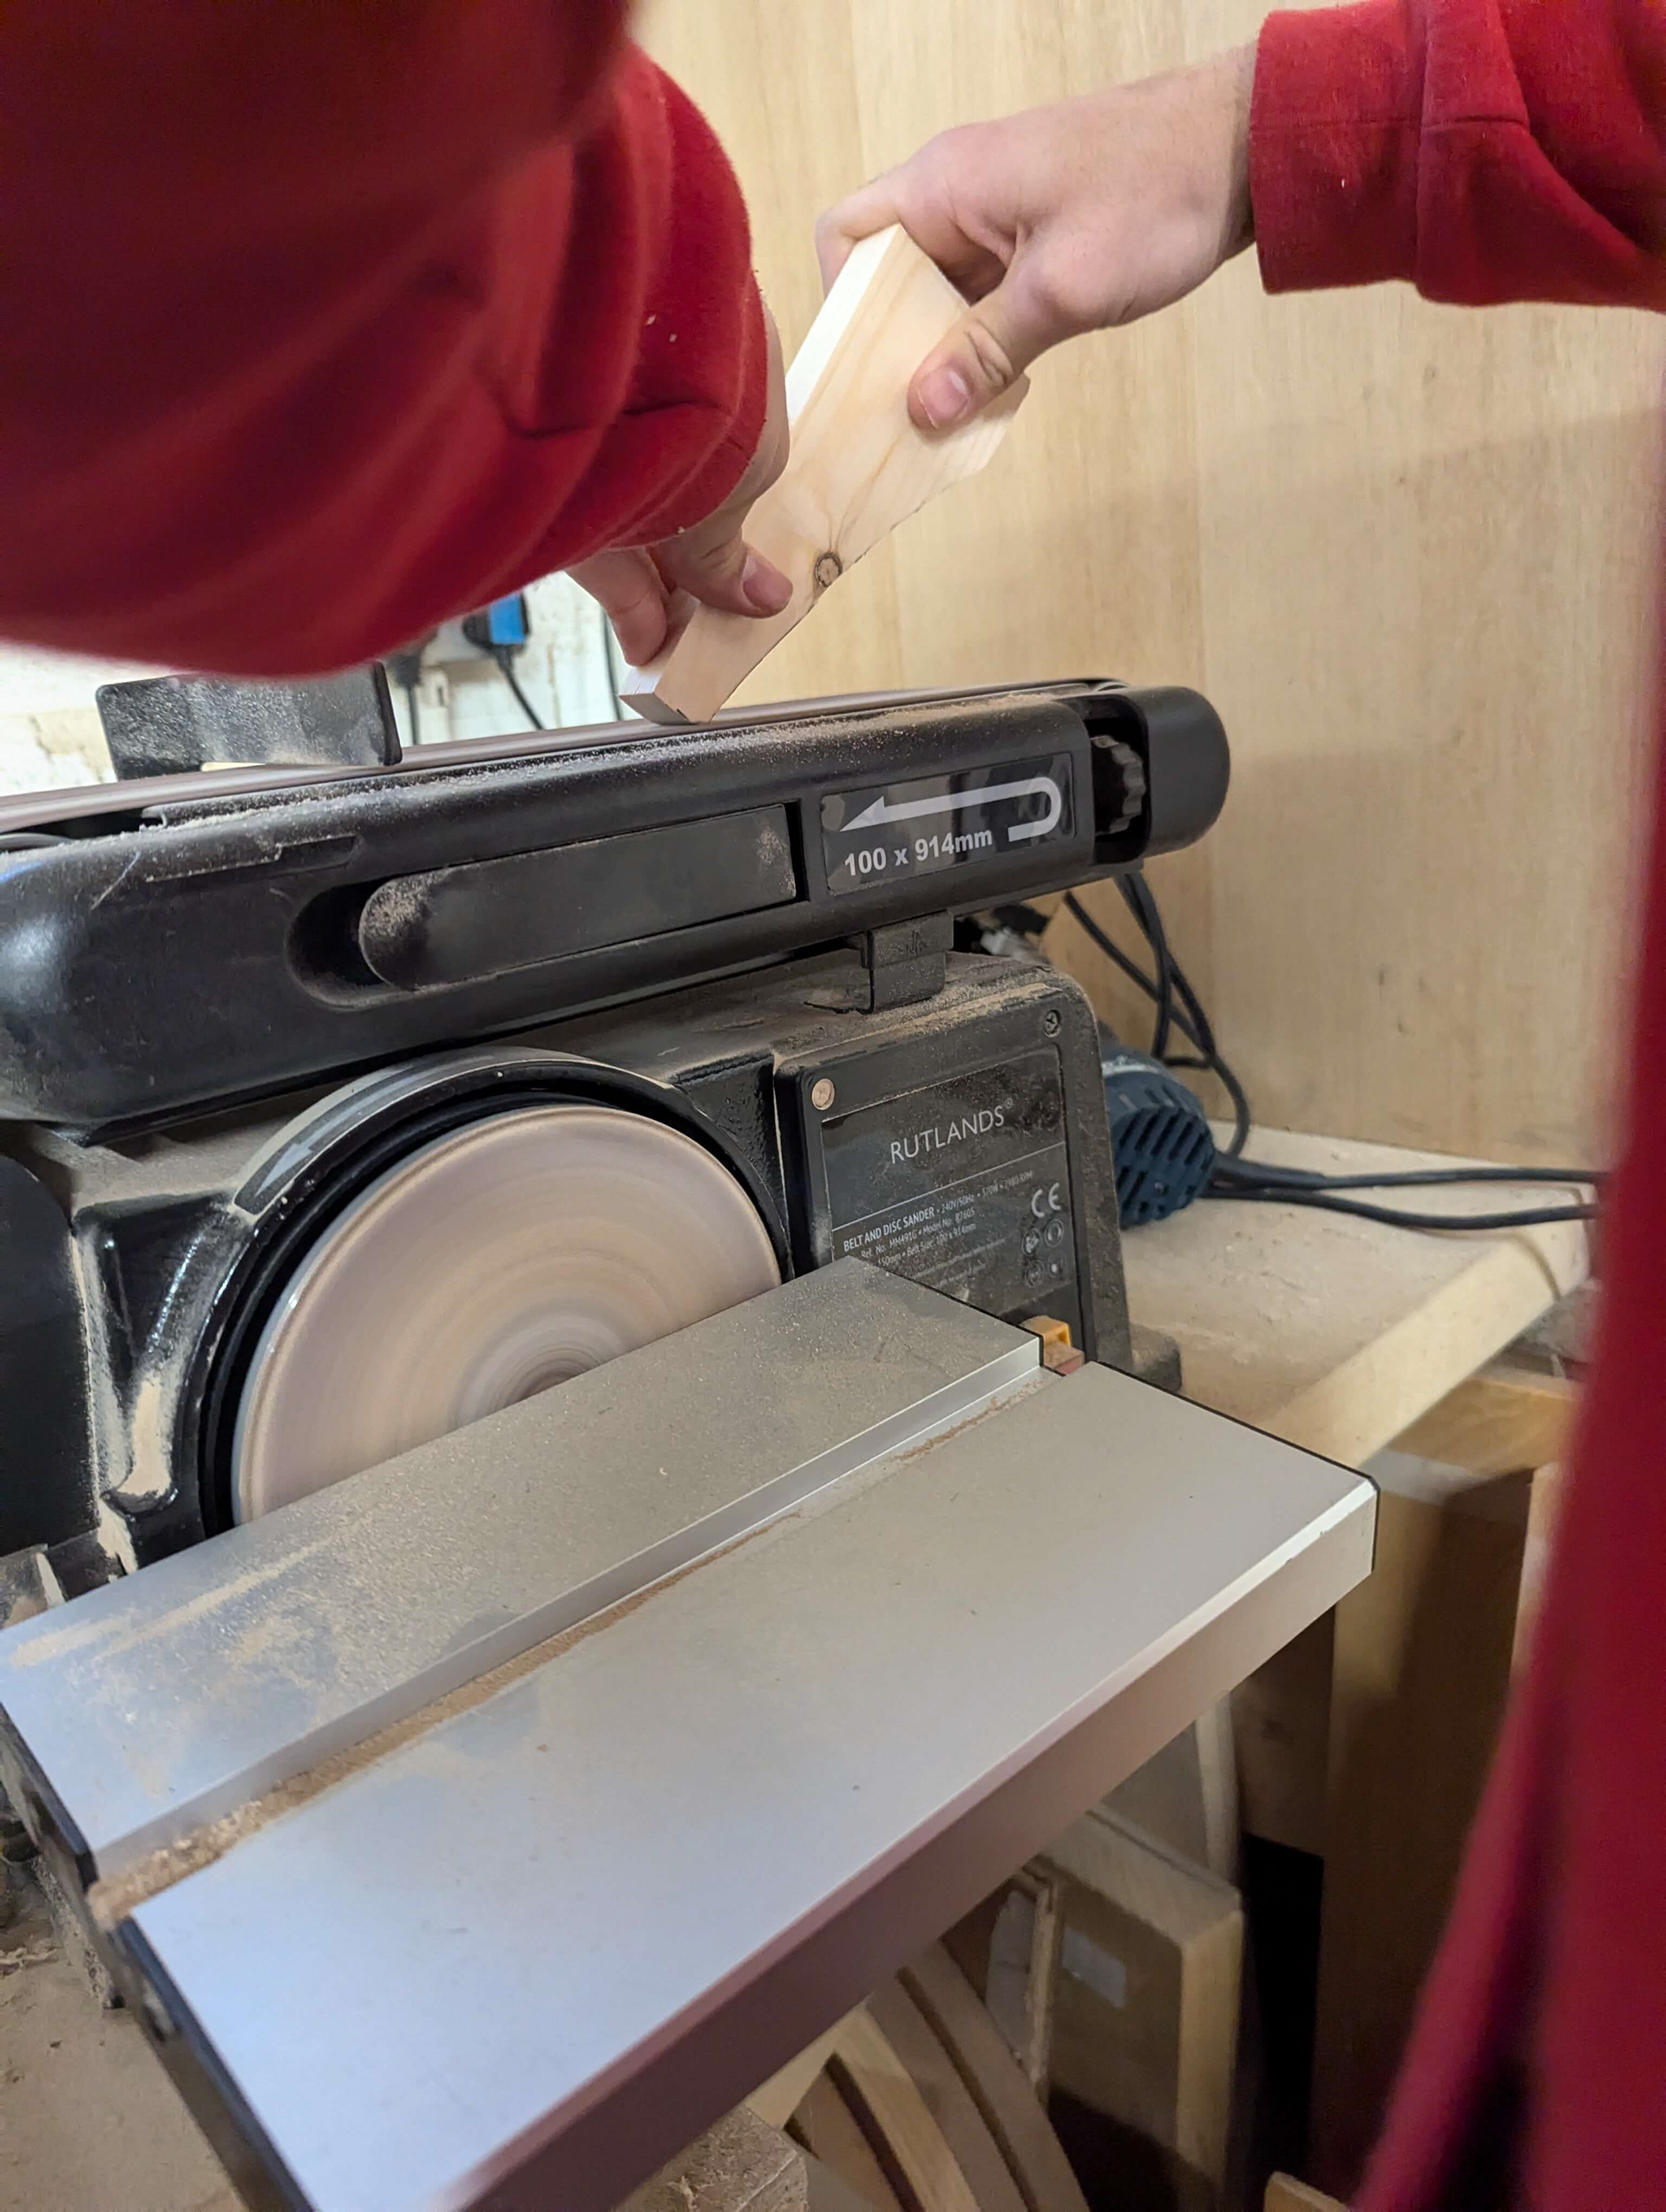
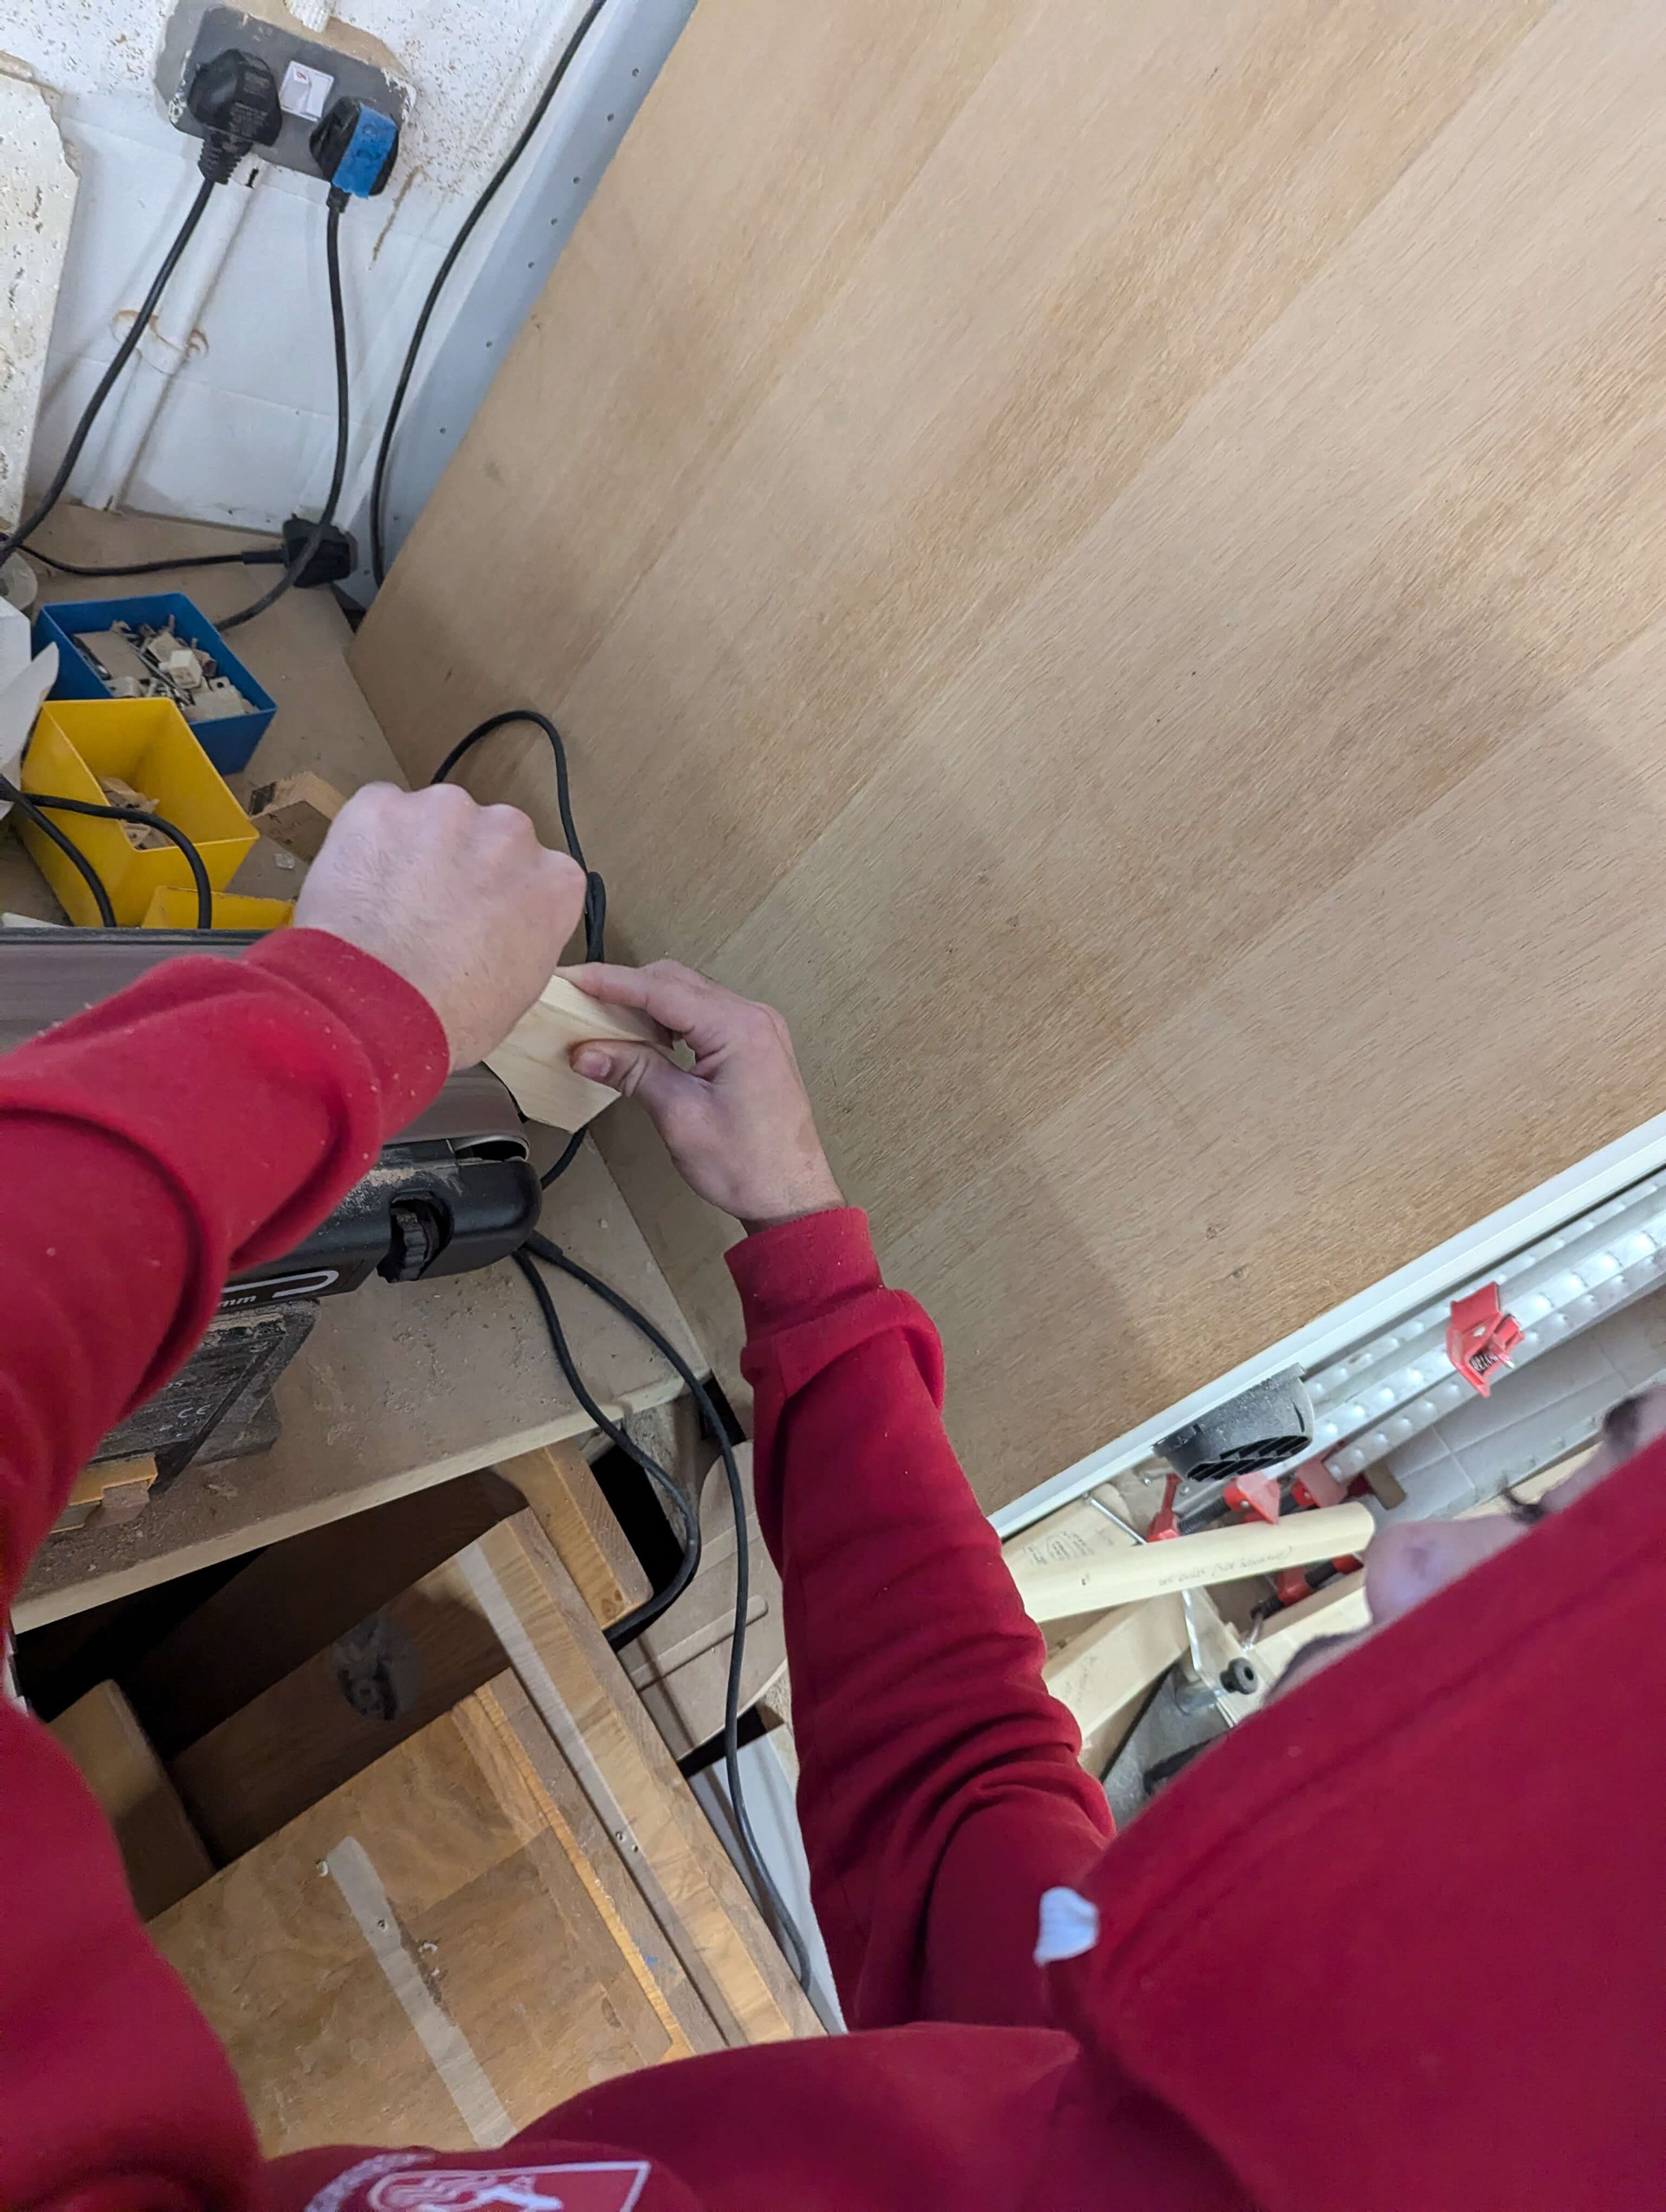
7. Use belt sander to create curved edge pieces
Cut small under arms section with mitre saw and bandsaw
Used belt sander to create smooth curves equal on both sides
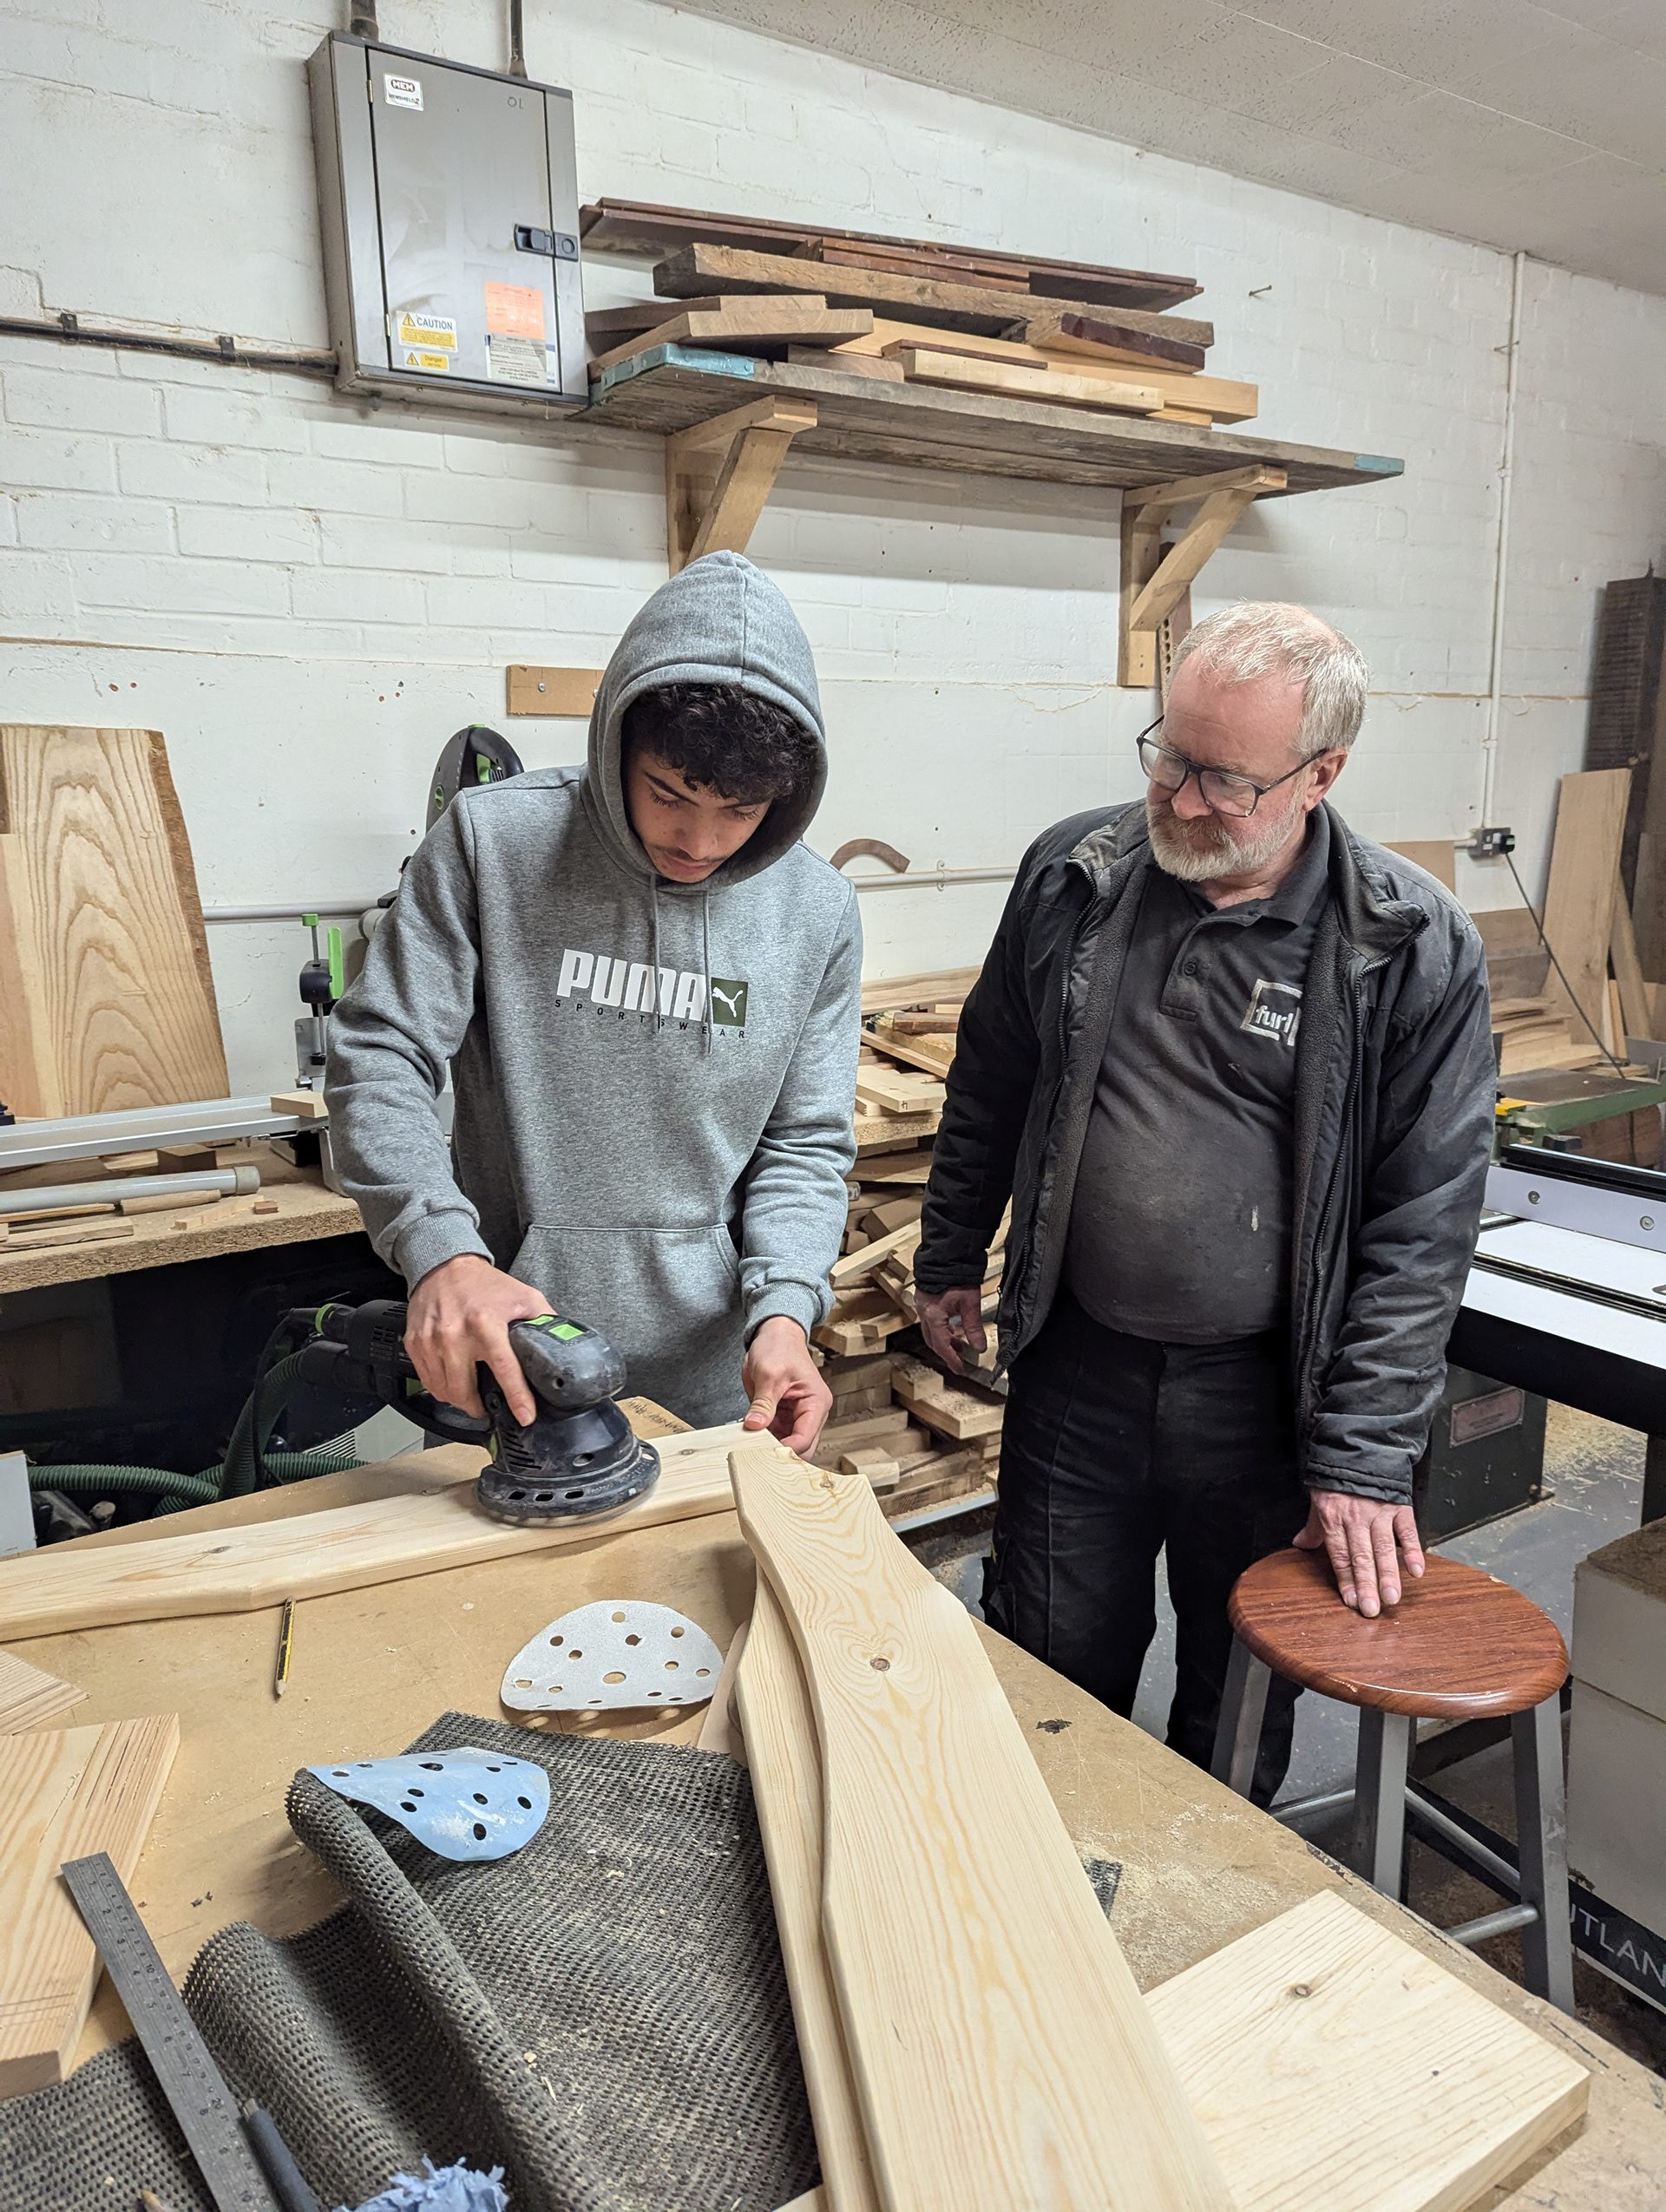
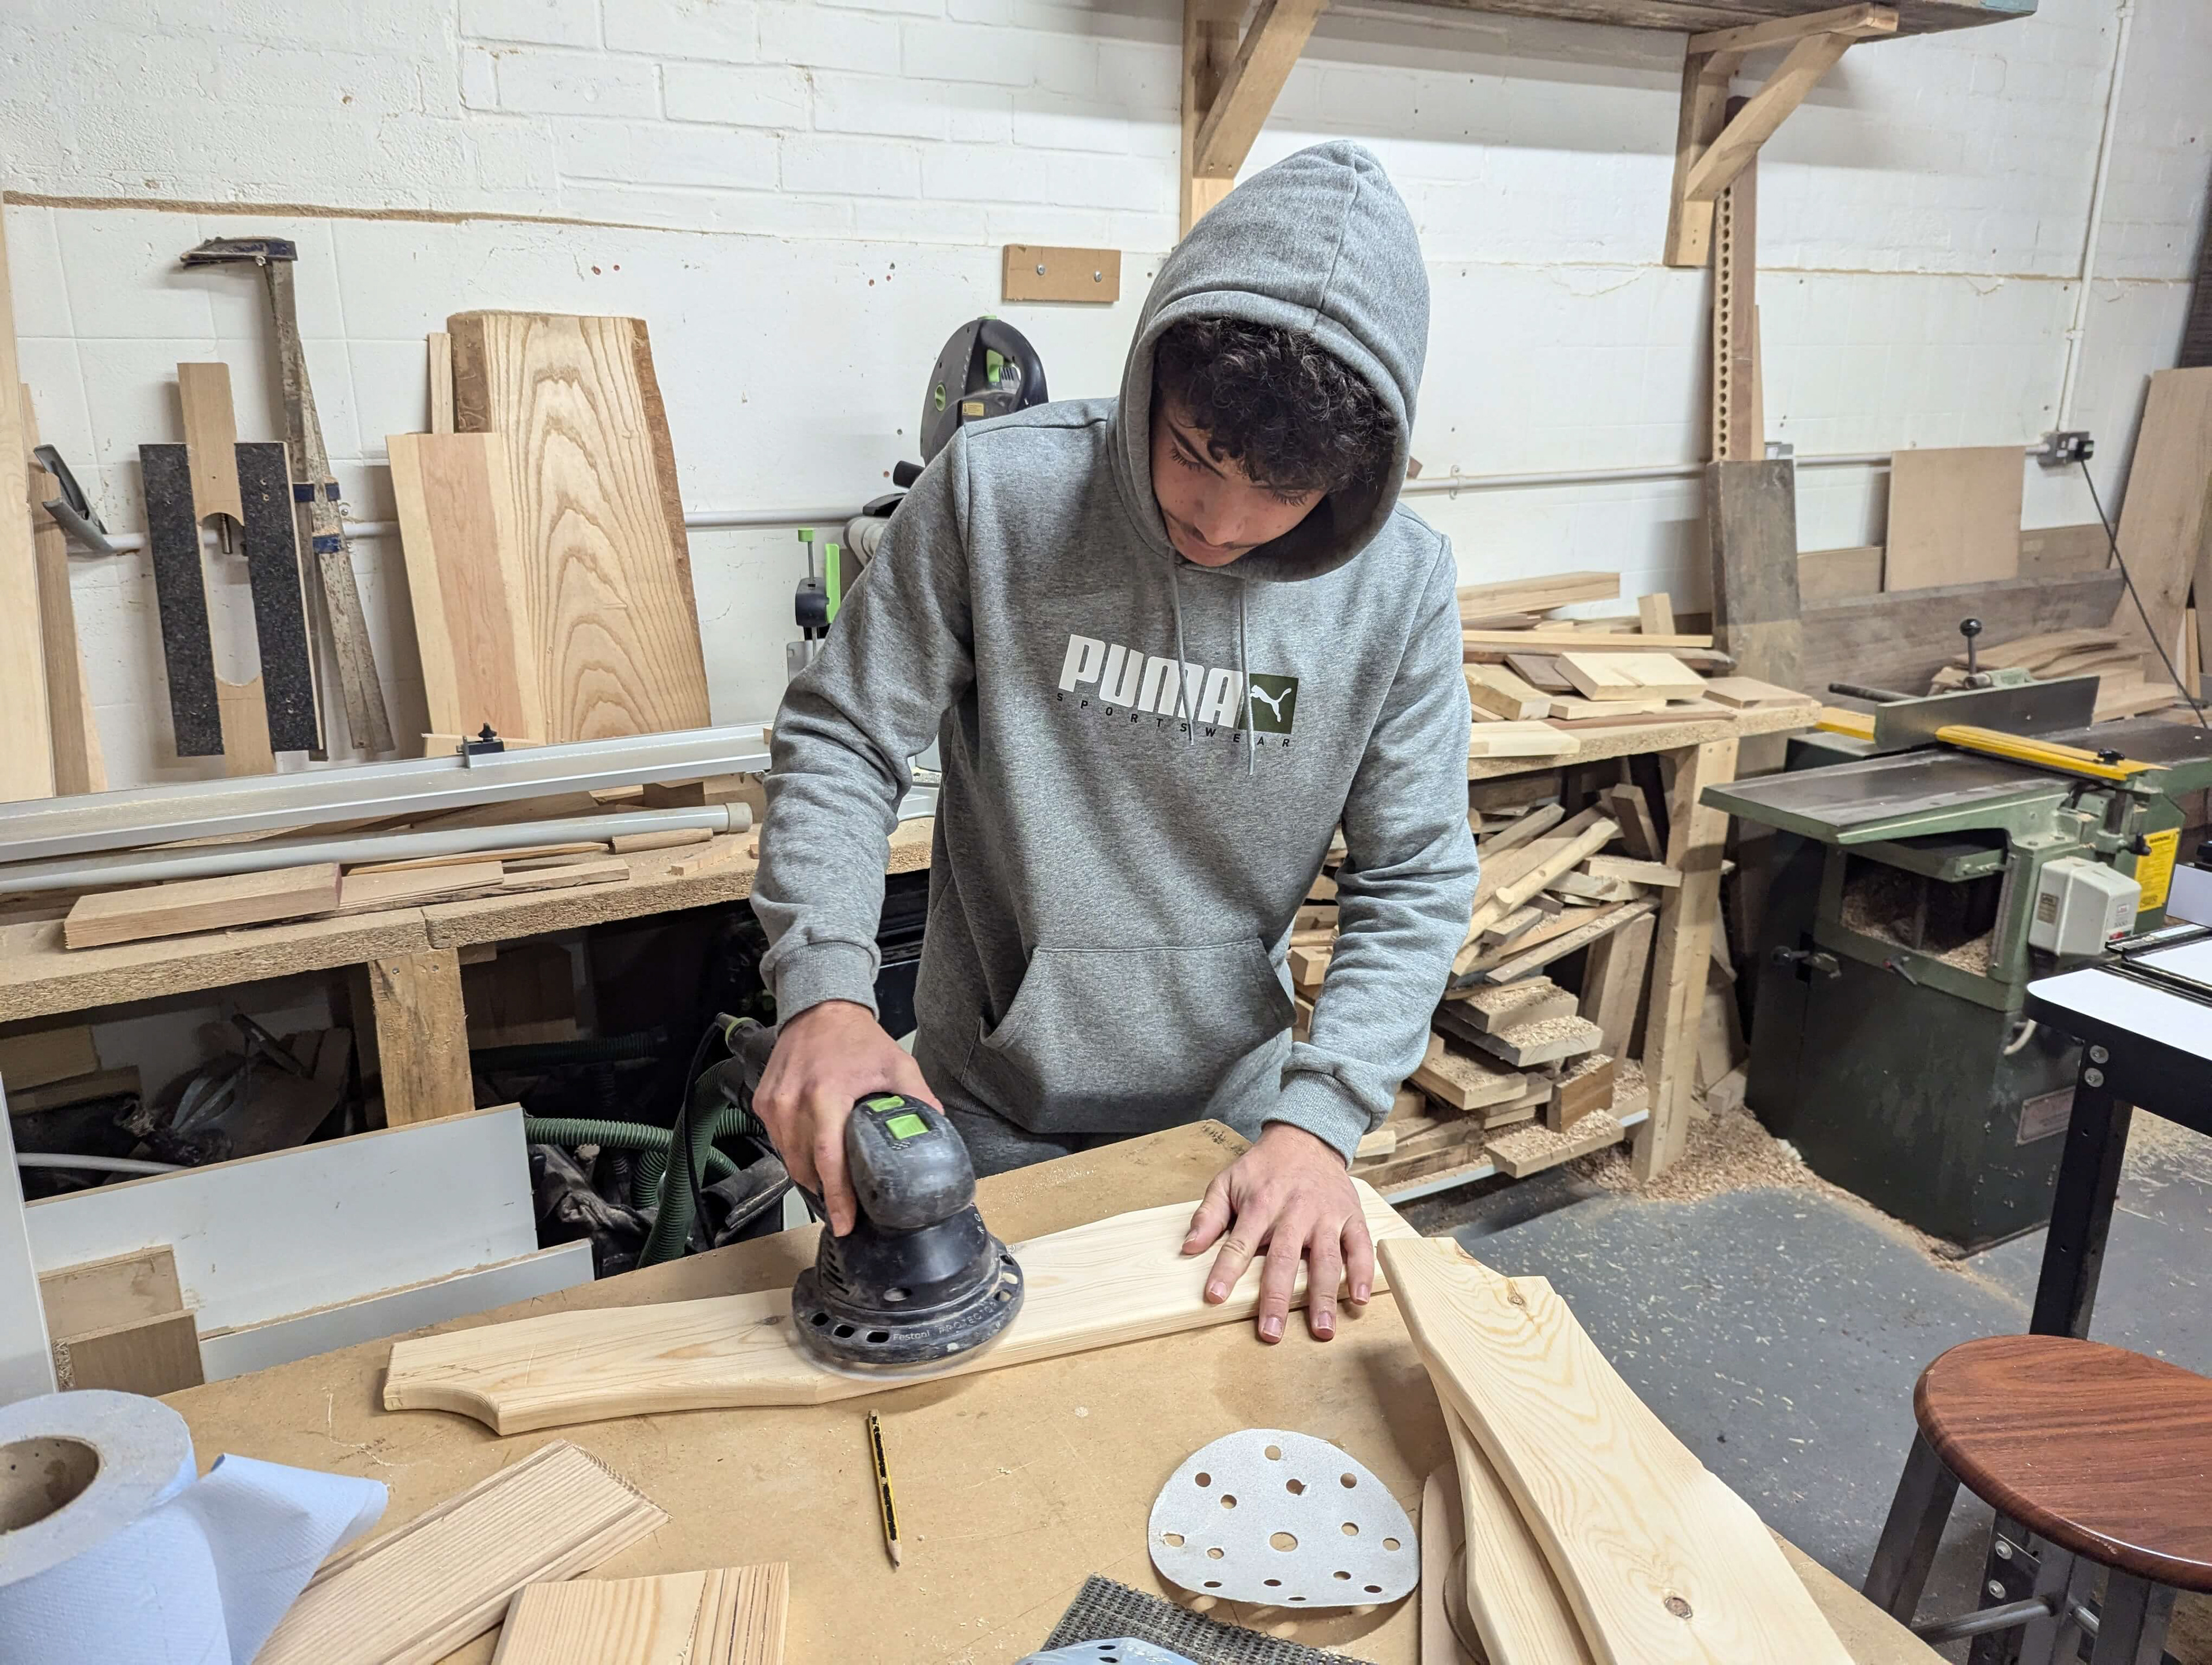
8. Use Orbital sander to smooth all surfaces
9. Use planer to cut planks to correct depth
10. Use table saw to cut long back structural beams and plane them
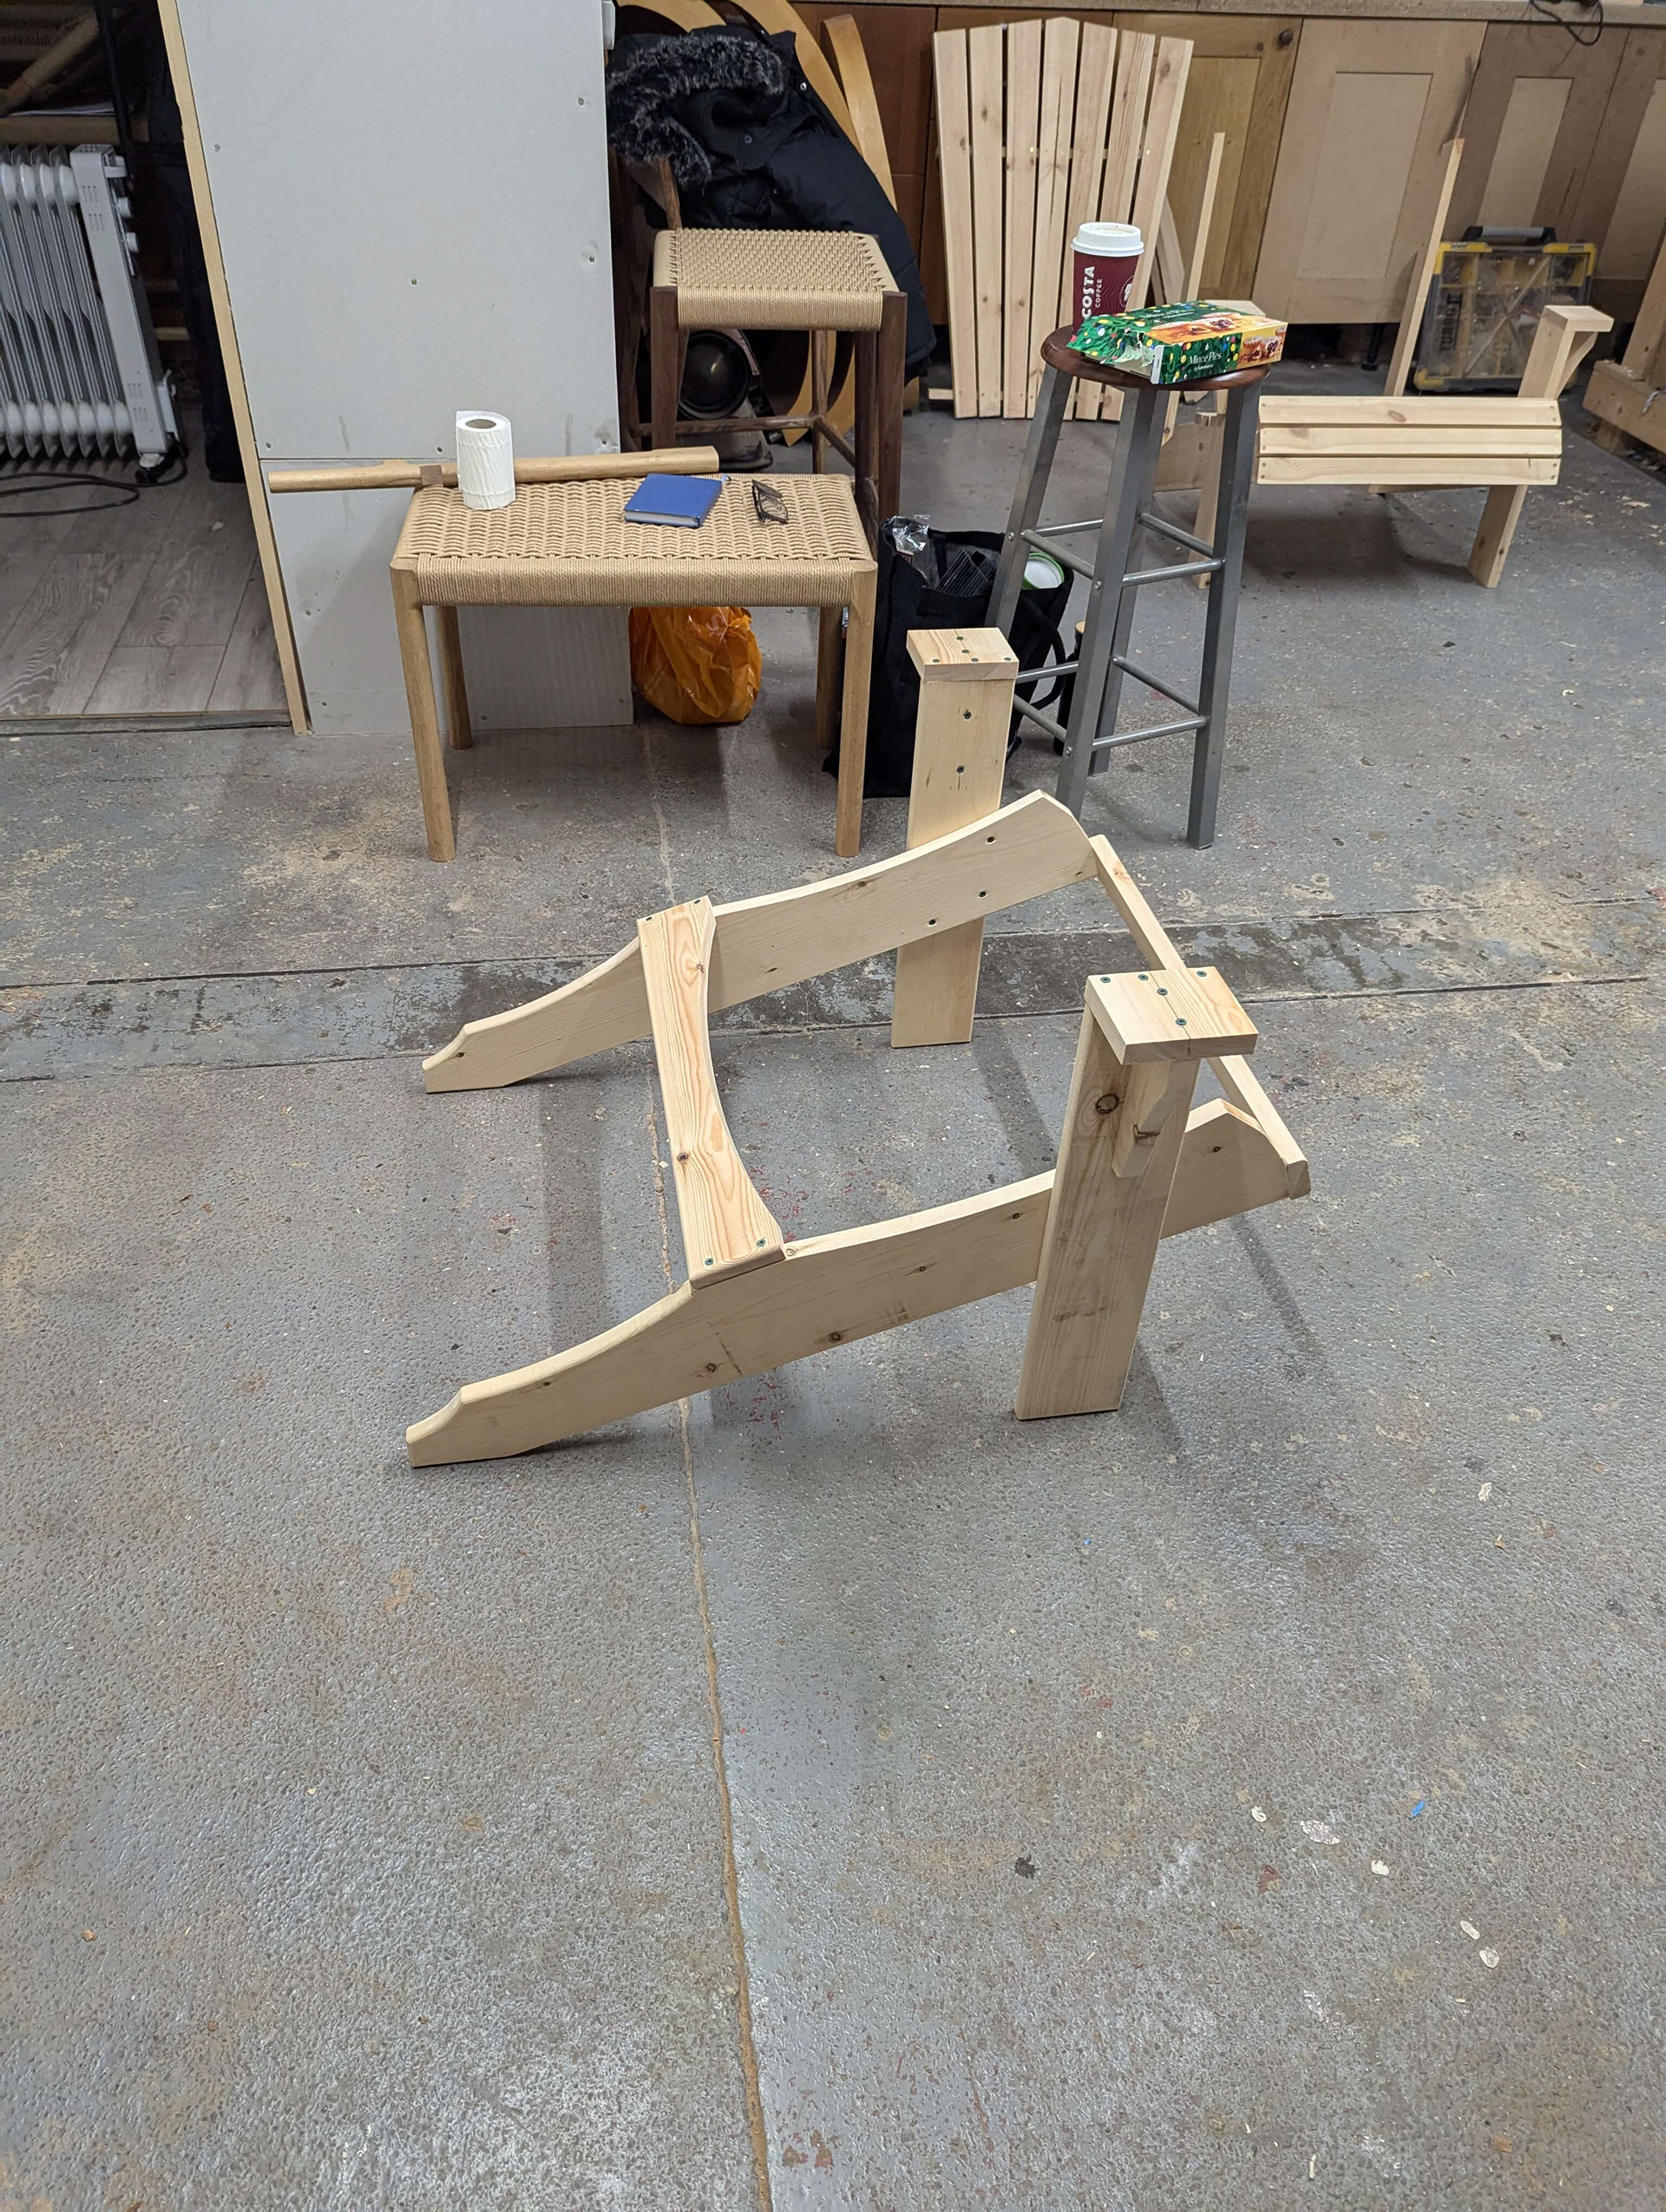
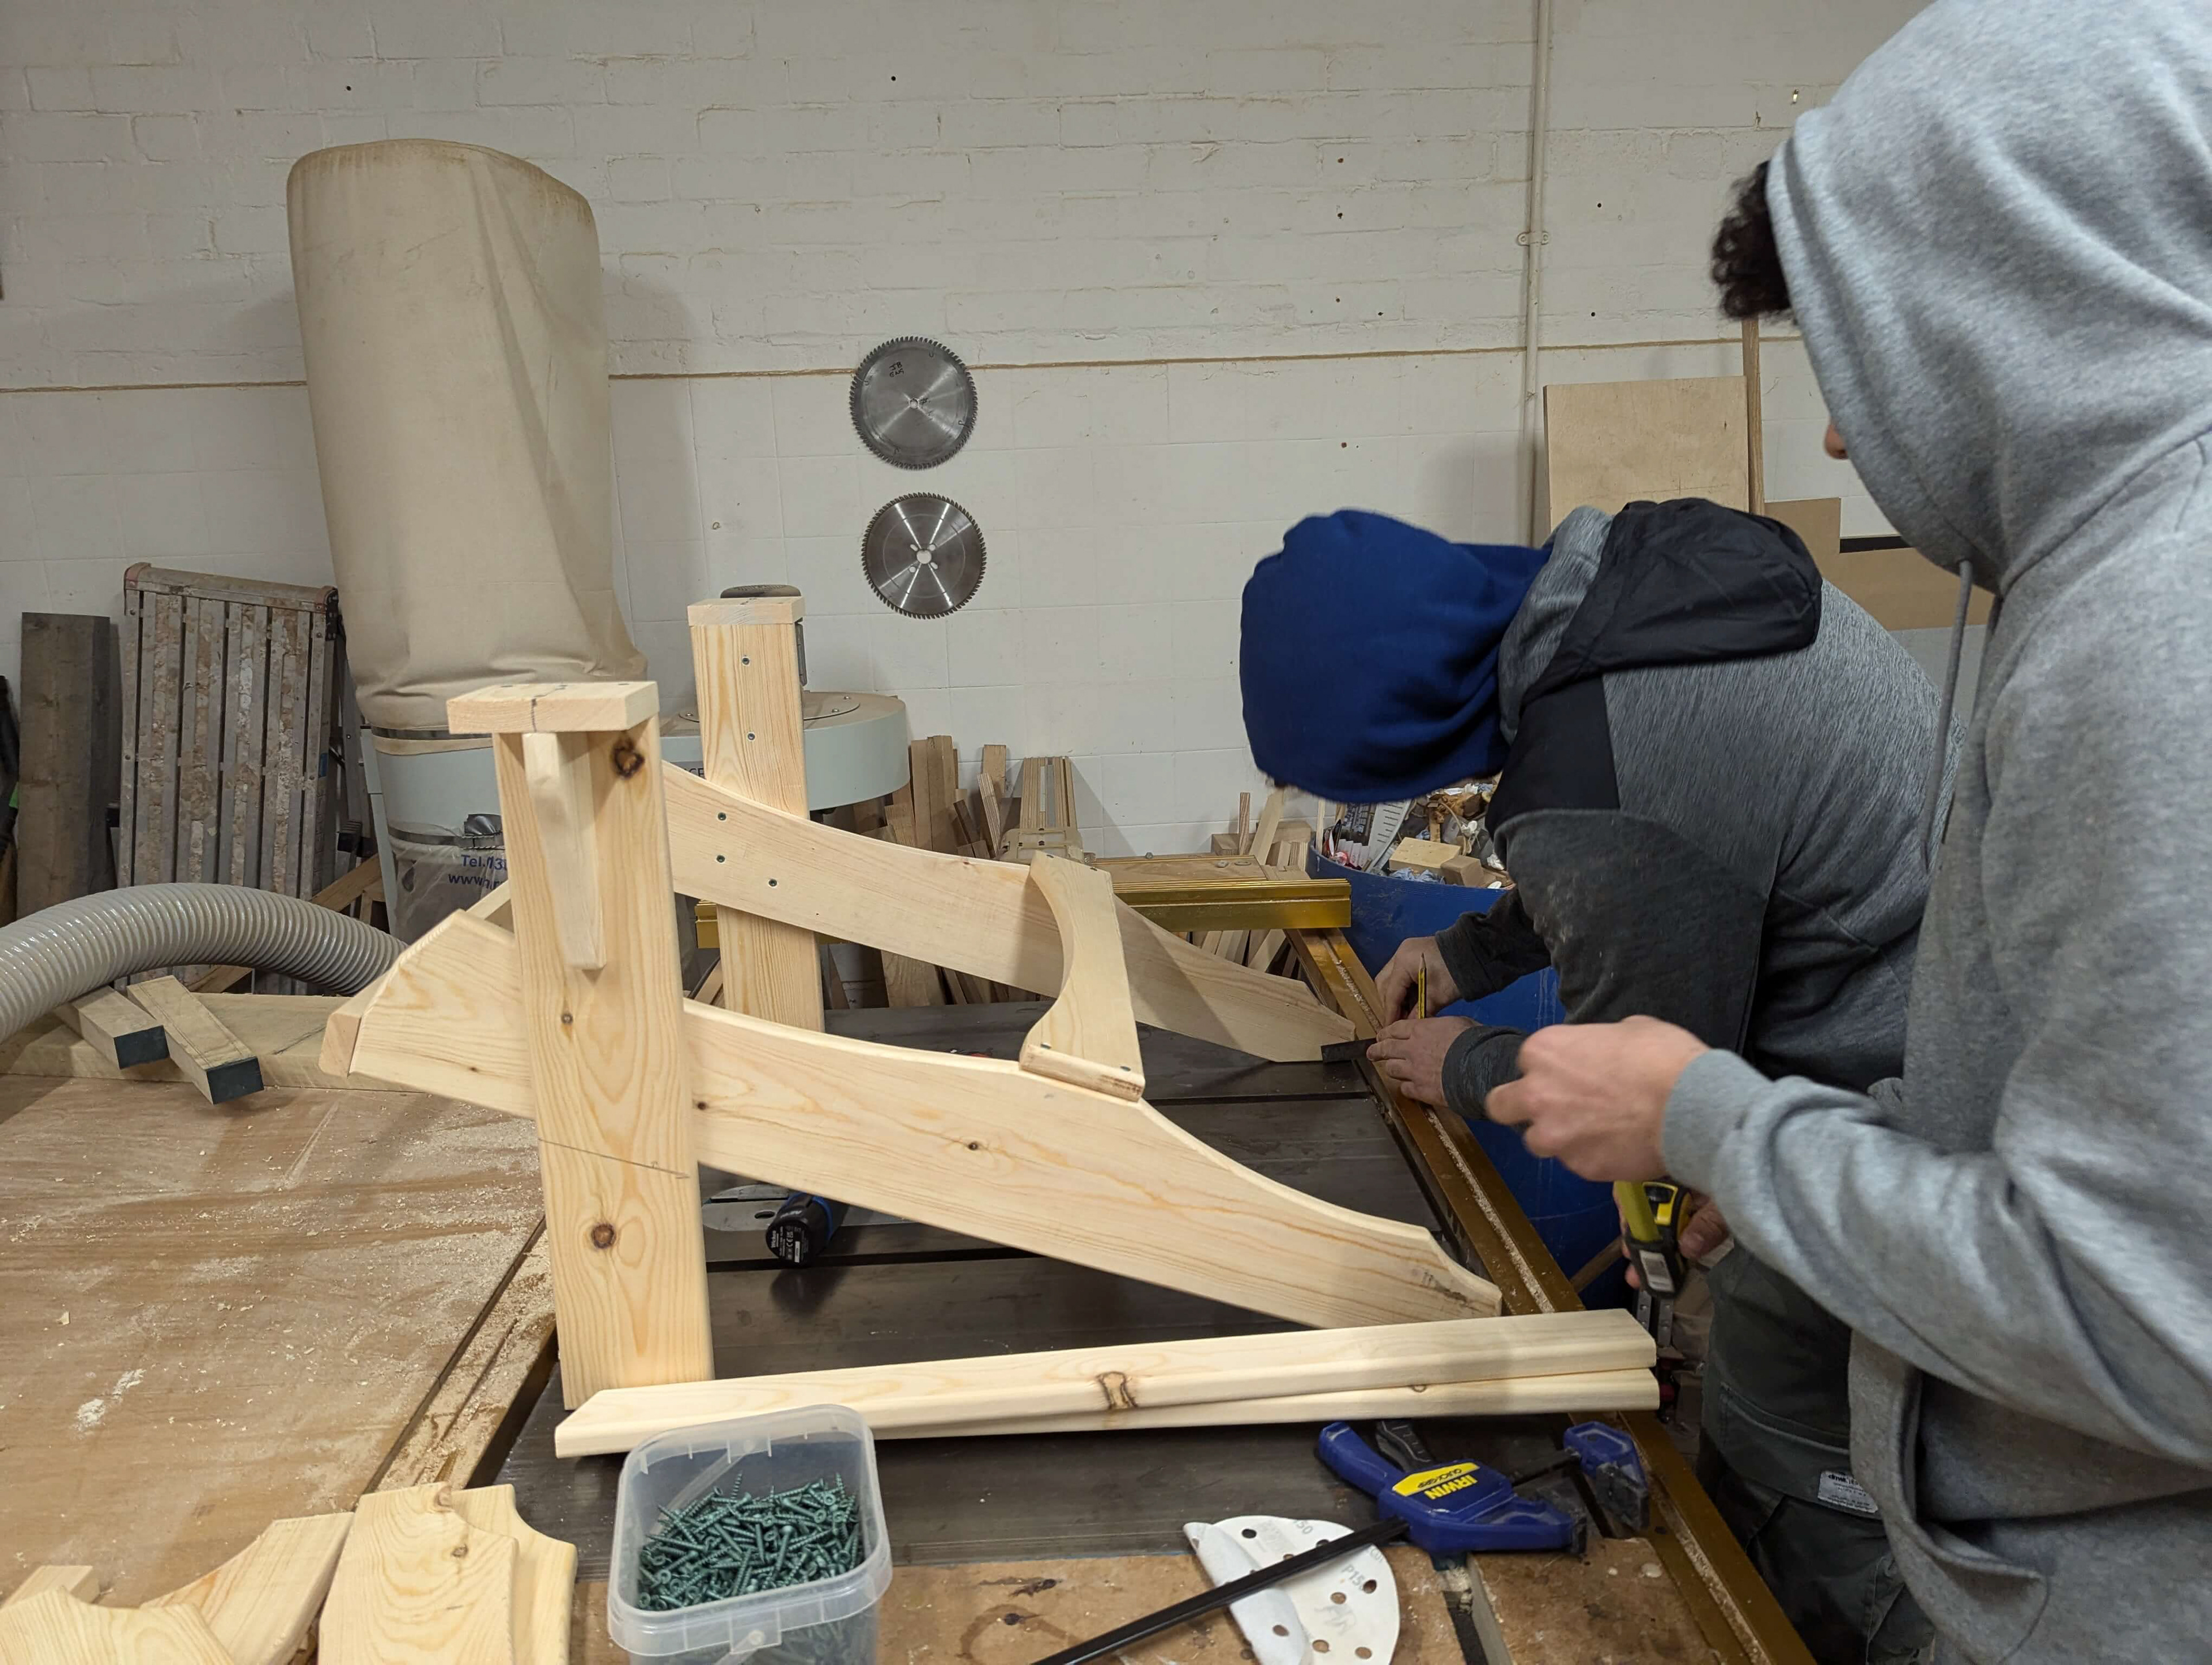
11. Begin assembly
Used jig to mark out where the holes will be and ensure base parts and front legs were at correct angle
Drilled holes using hand drill
Inserted countersunk screws using hand drill
Attached lower back slat support onto the bottom legs - ensure distance apart was correct
Had to ensure they didn’t go too deep so that they don’t show through on the other side
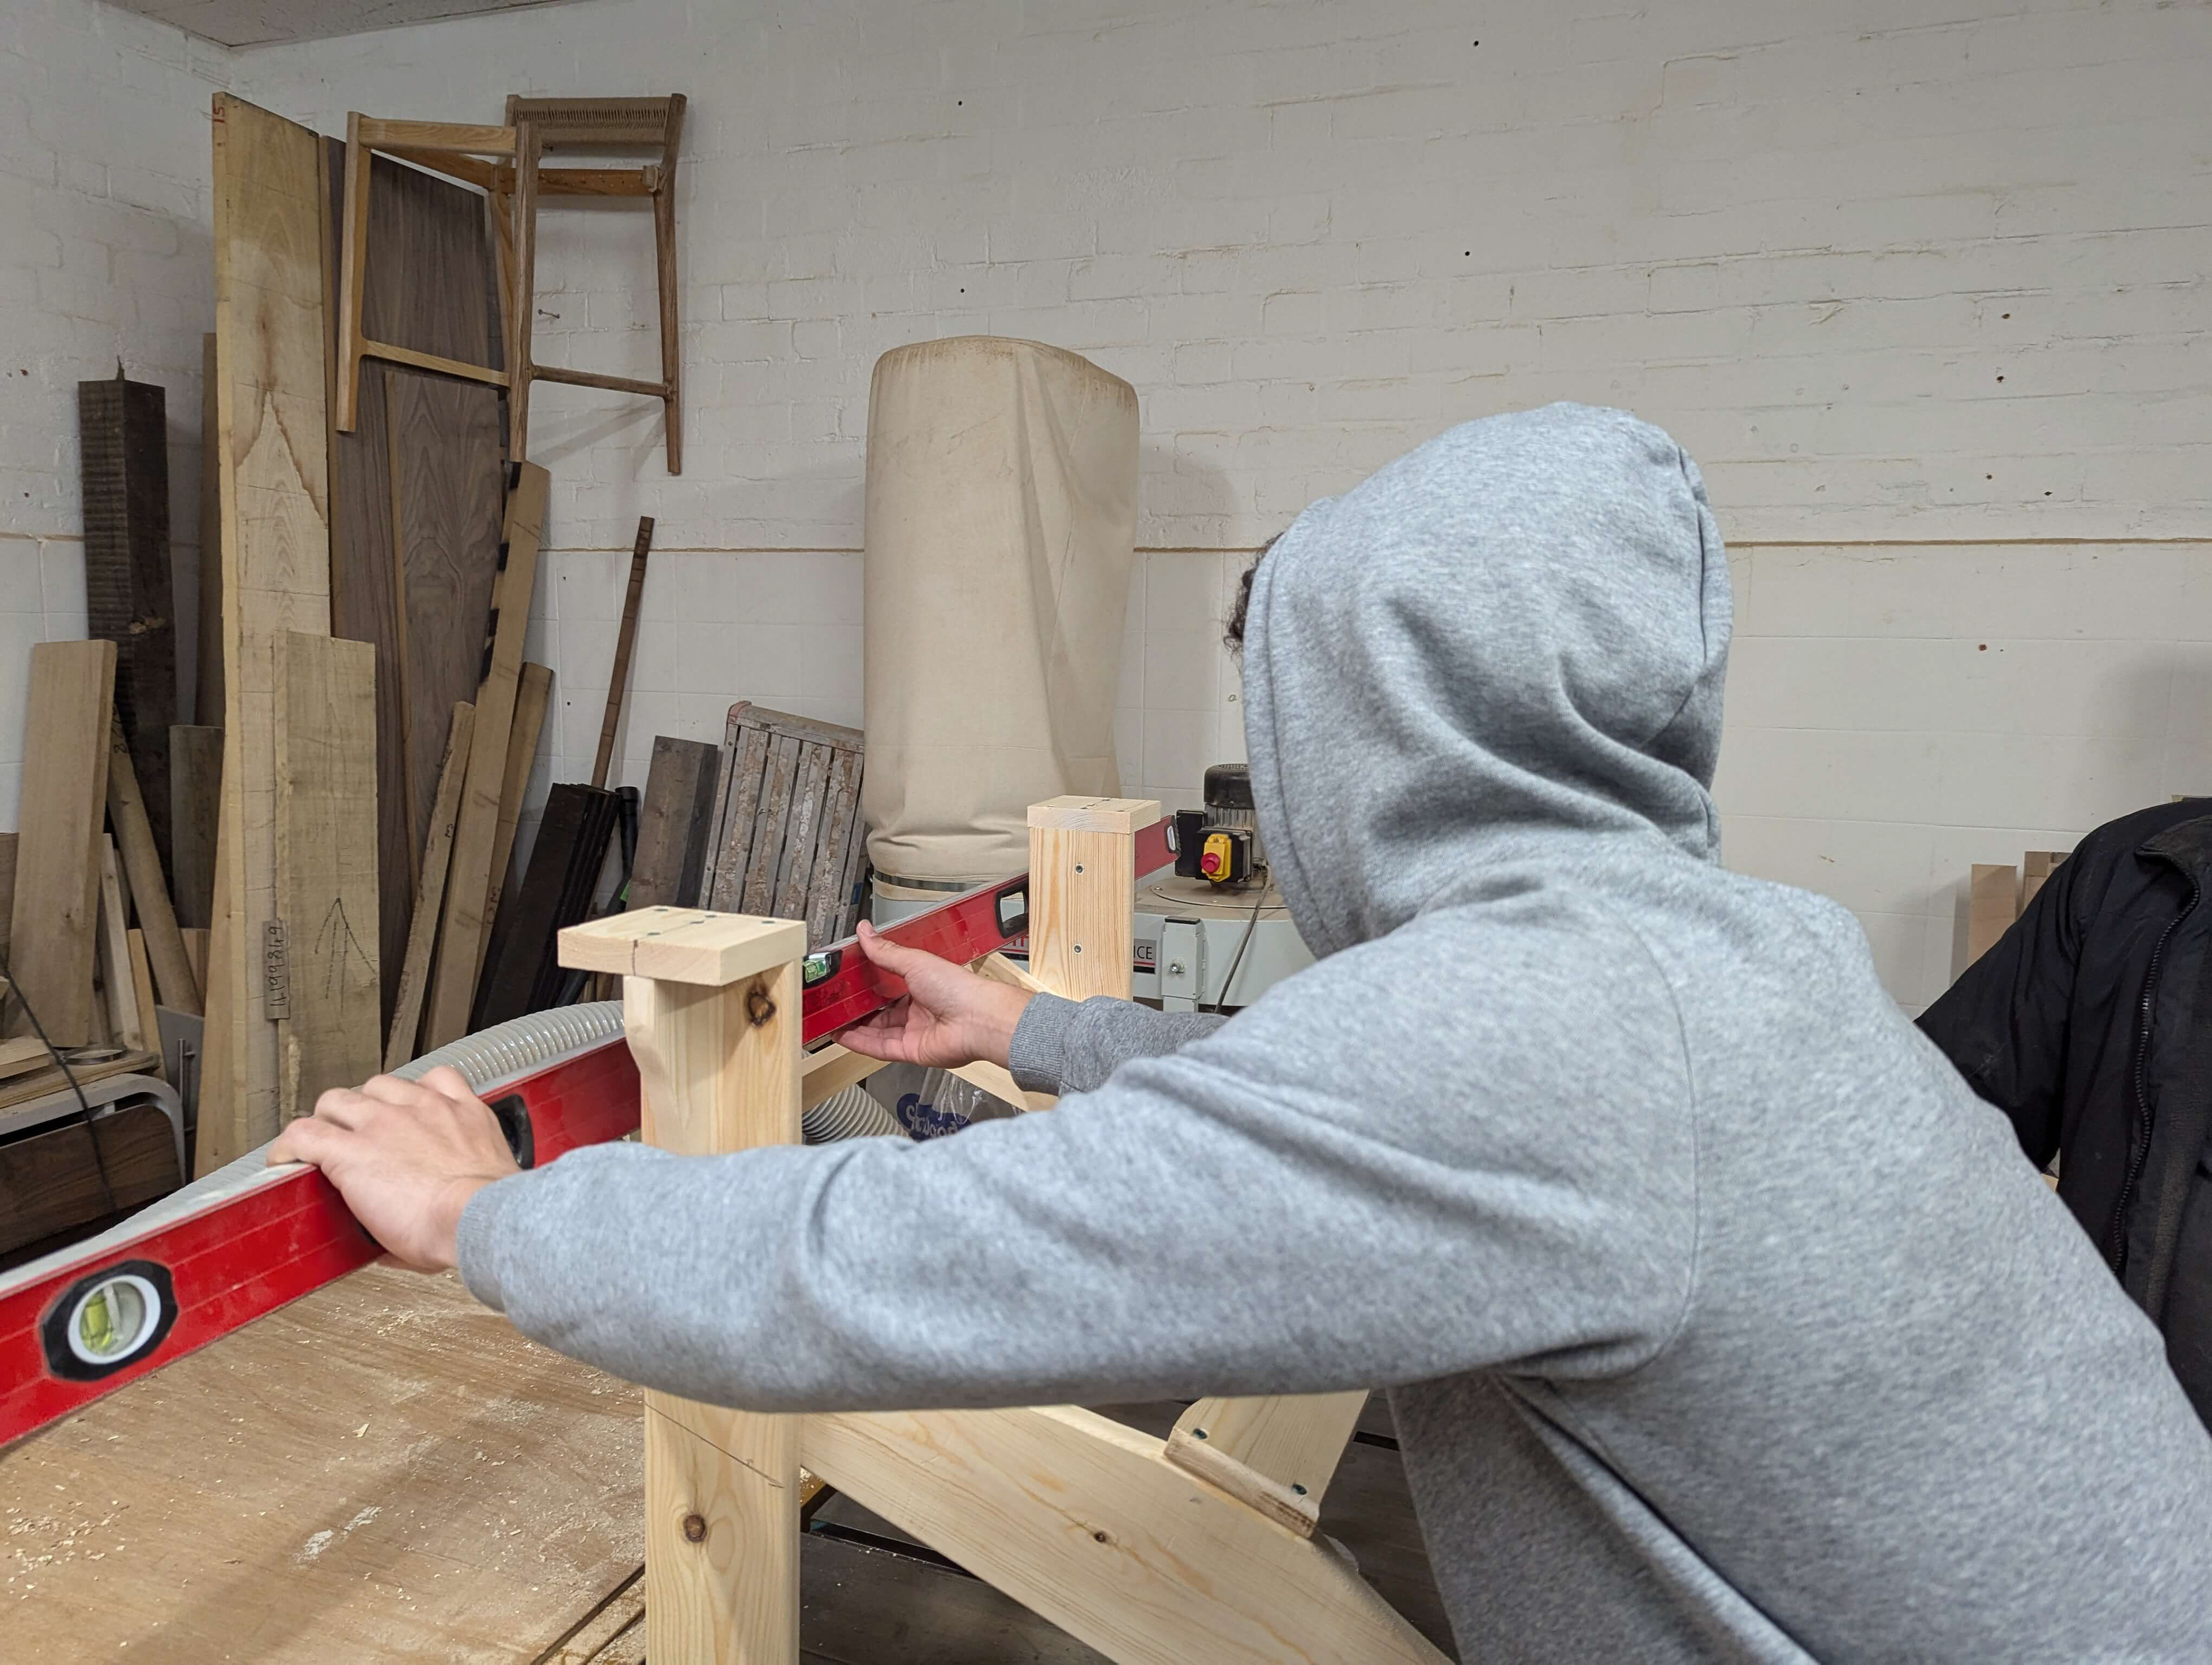
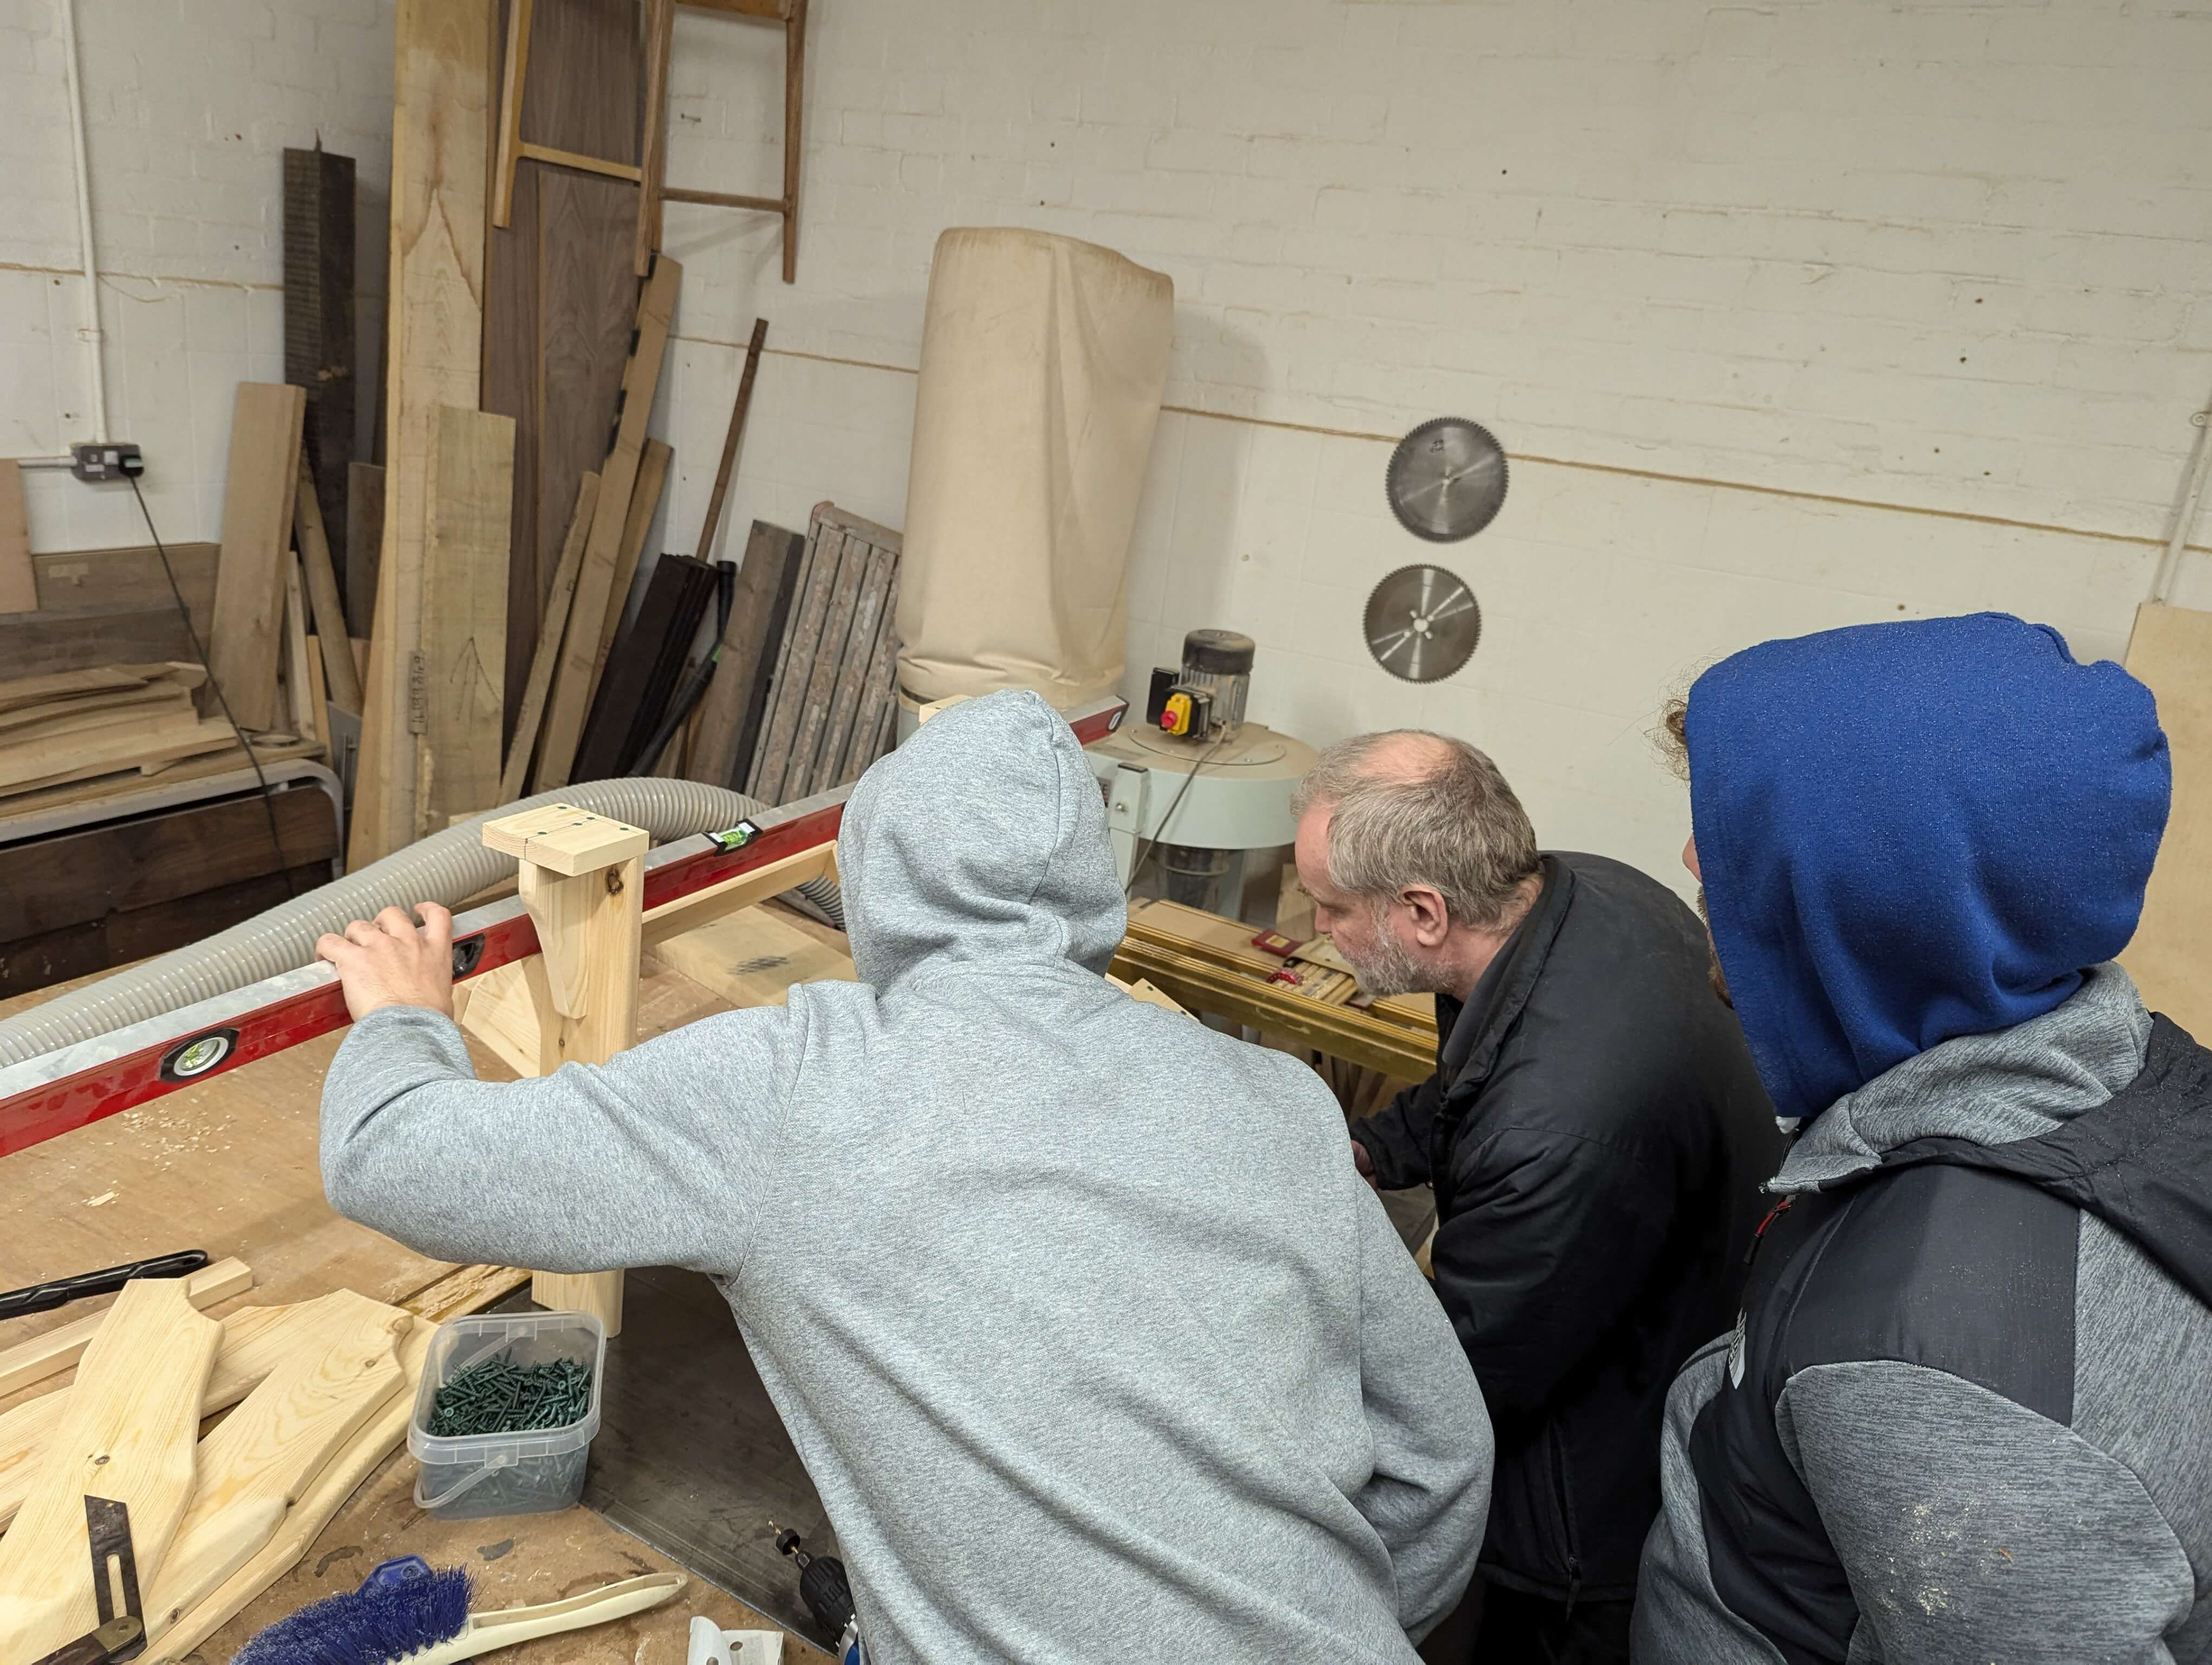
Connected back beams and top back slat support ensuring angles were correct
Spirit level used to ensure flatness throughout
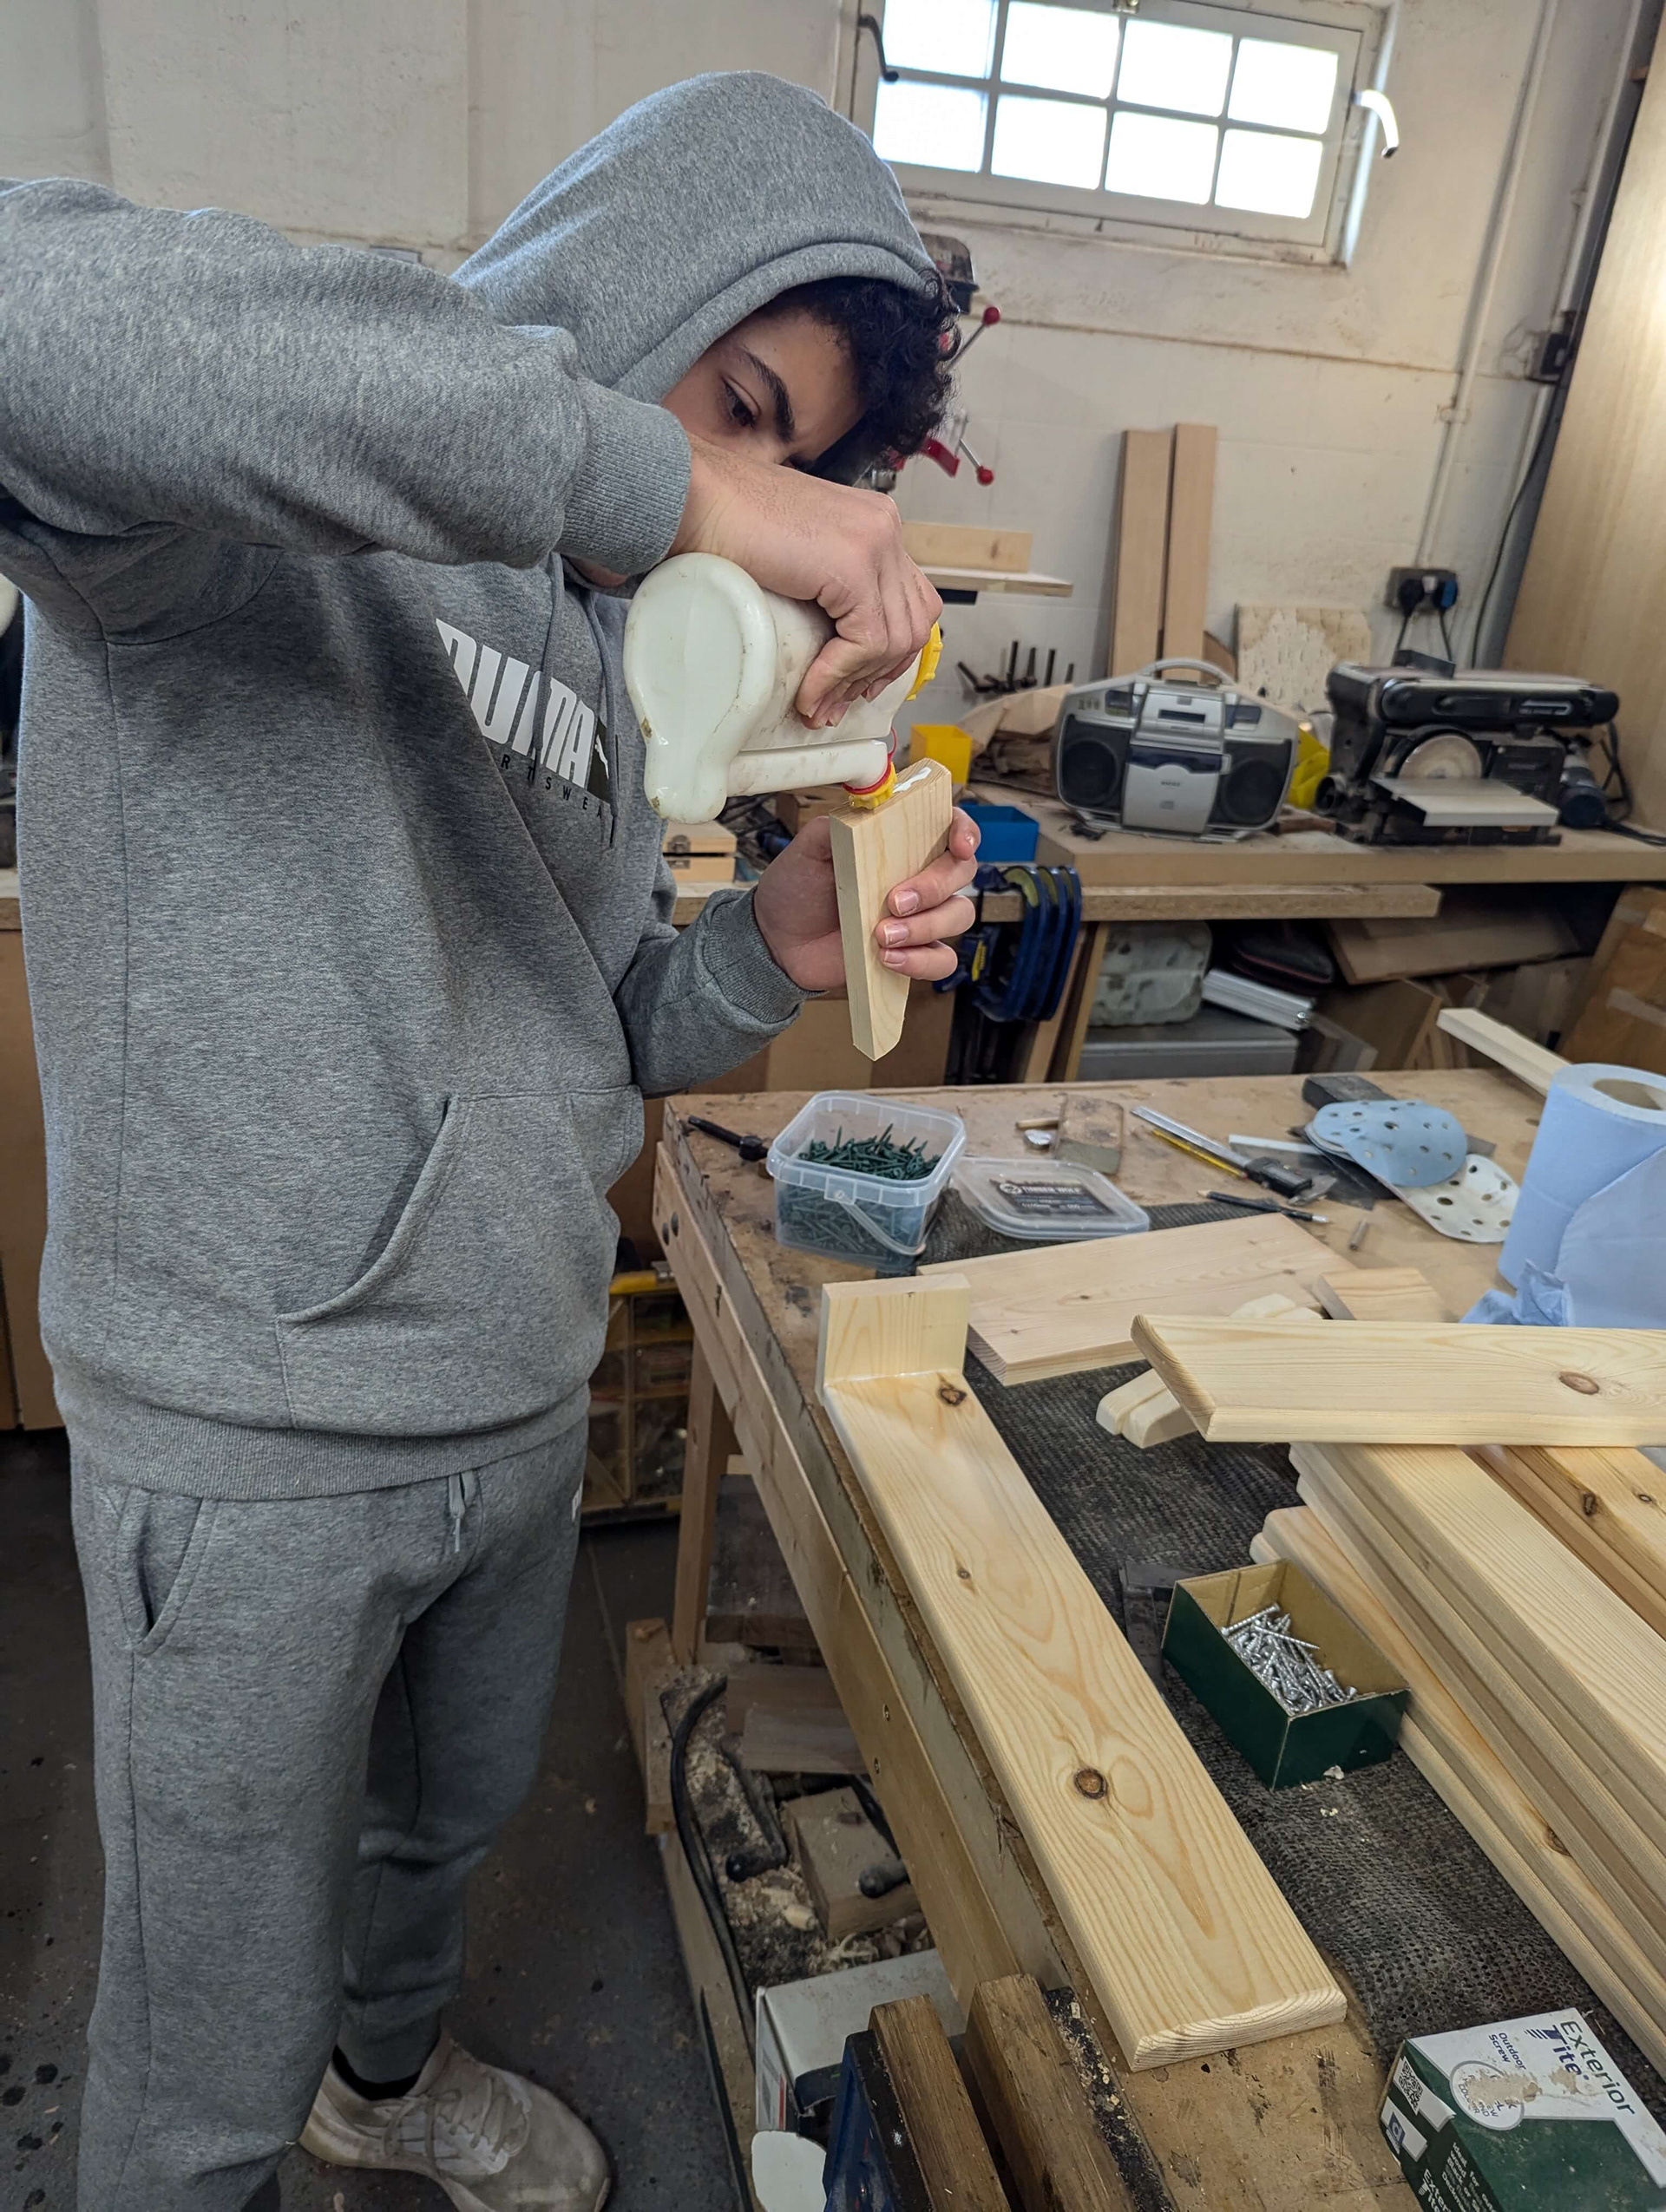
12. Use glue to secure one part of support
Marked holes using jig and glued to the top of the handle parts before then drilling through and adding screw
13. Secure centre board
Drill holes in the centre board and into the lower back slat support
Insert screws
Repeat for upper back slat support
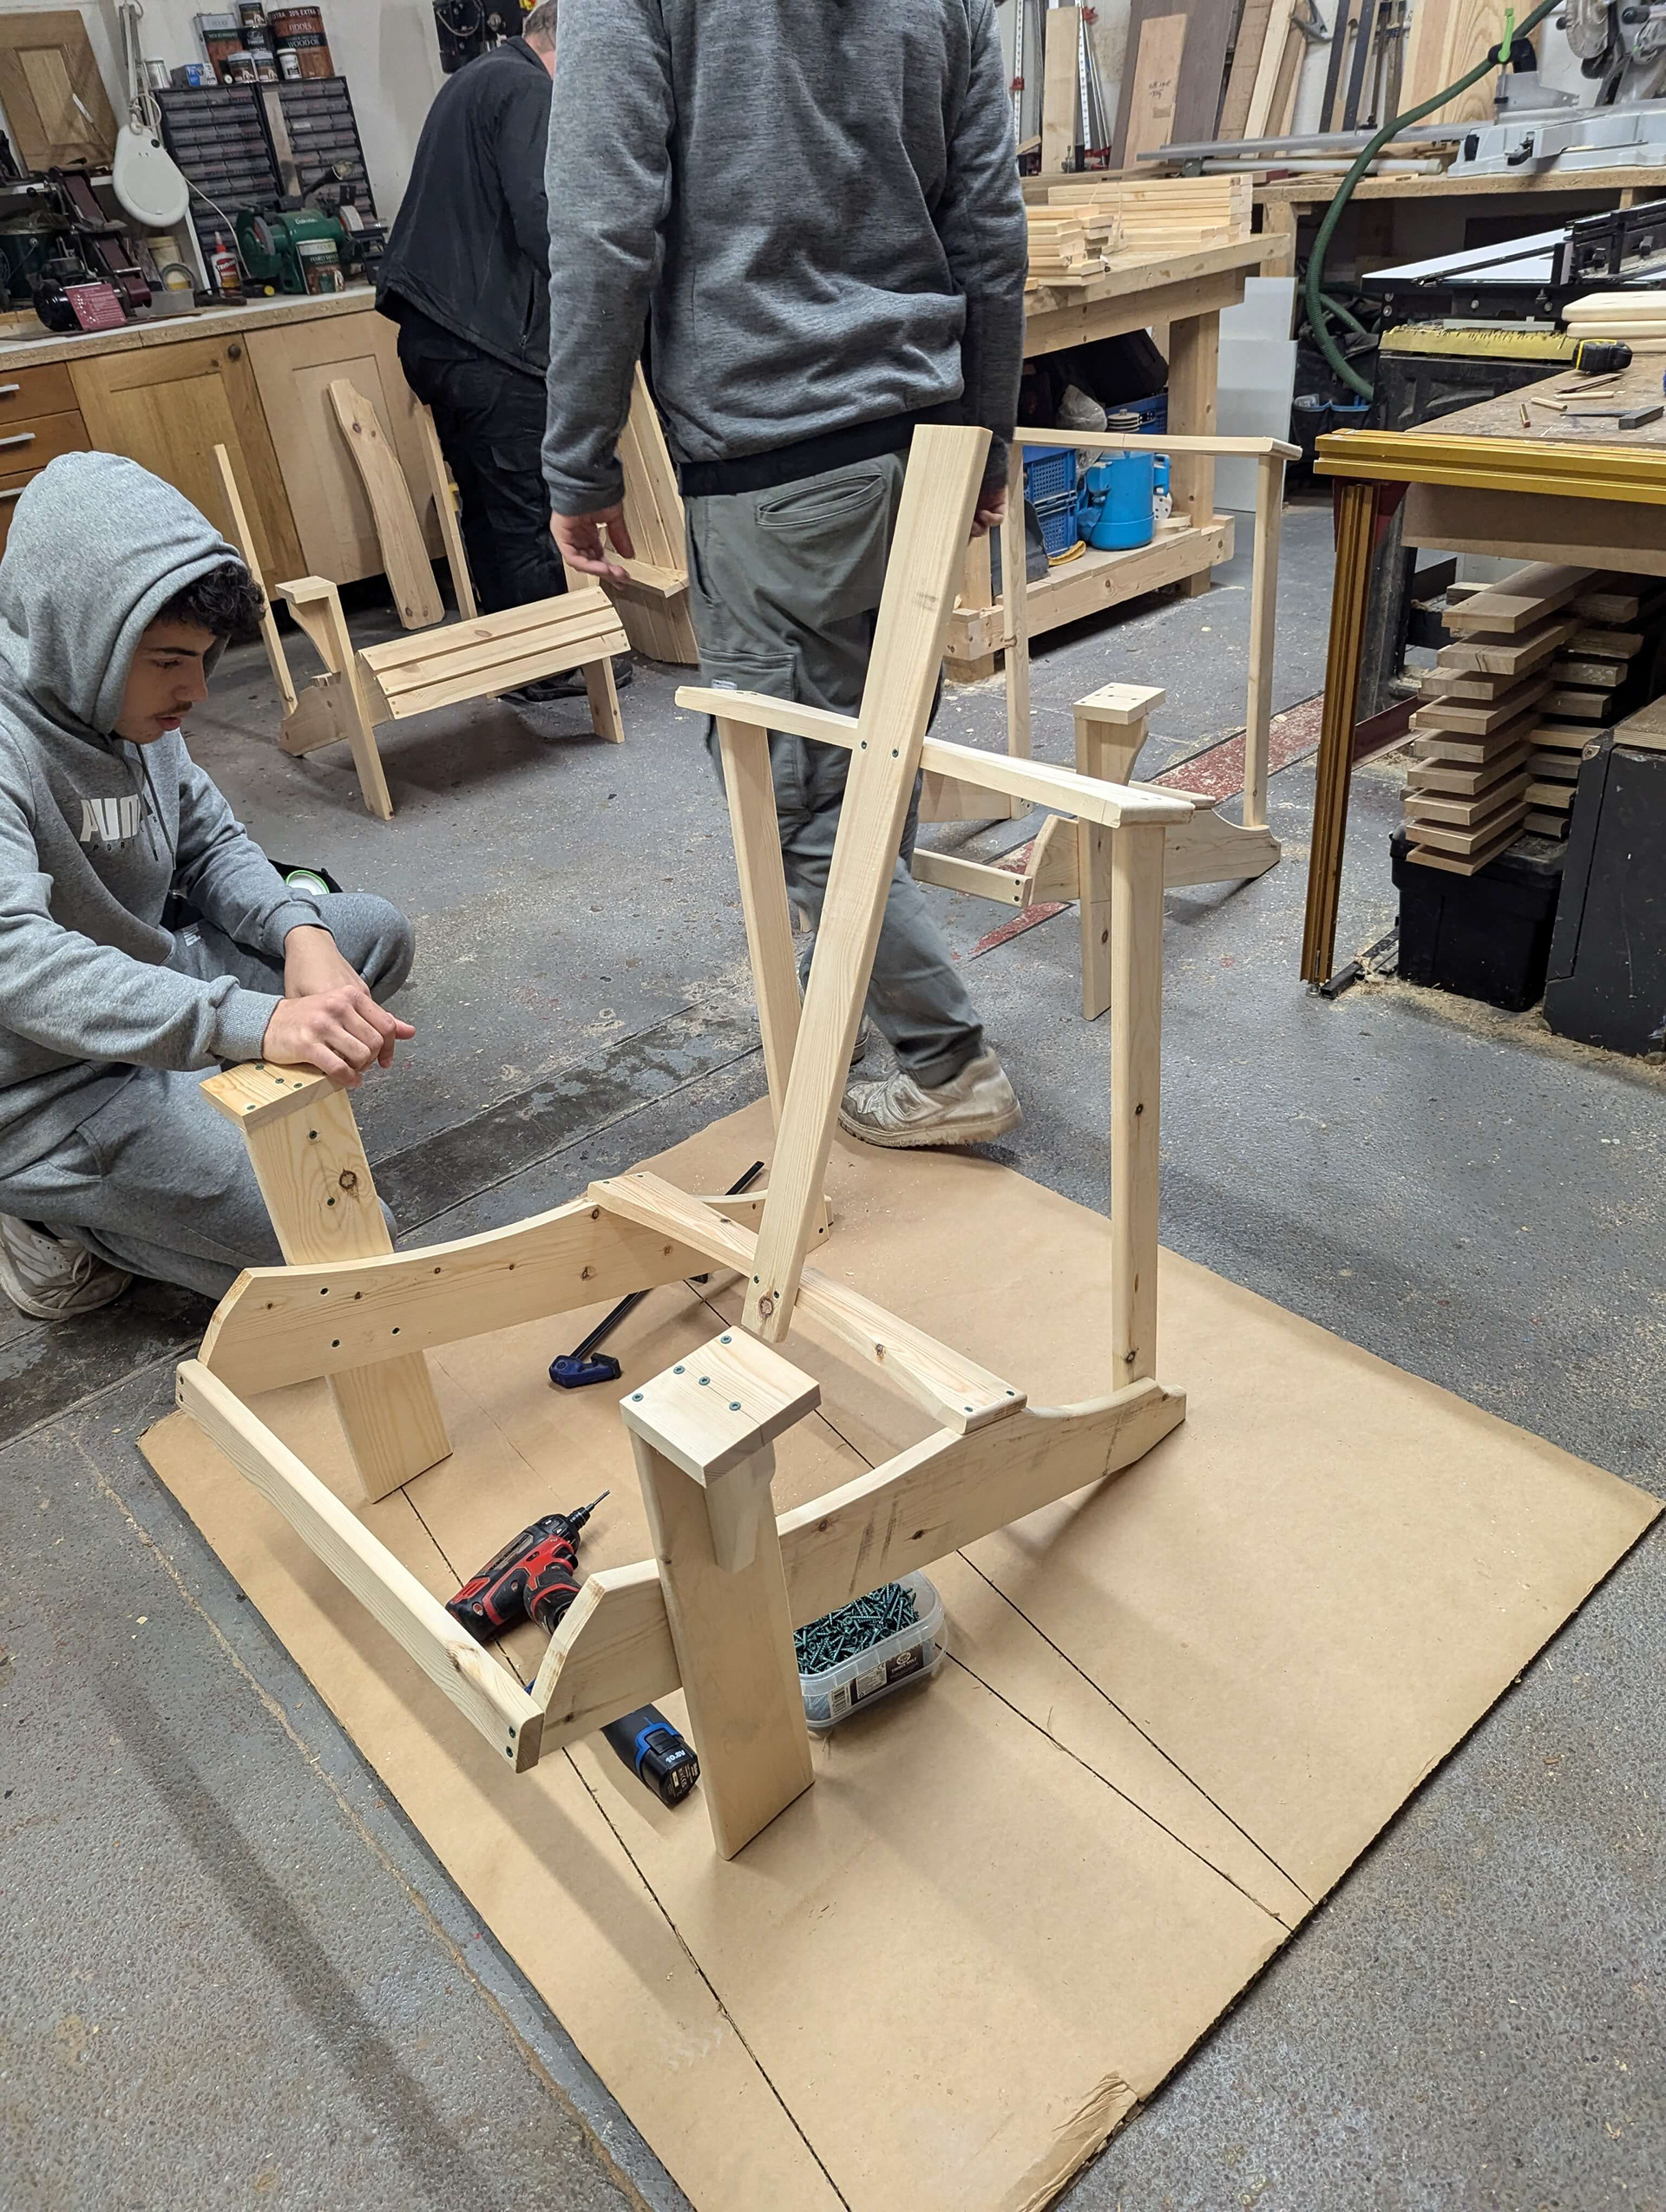
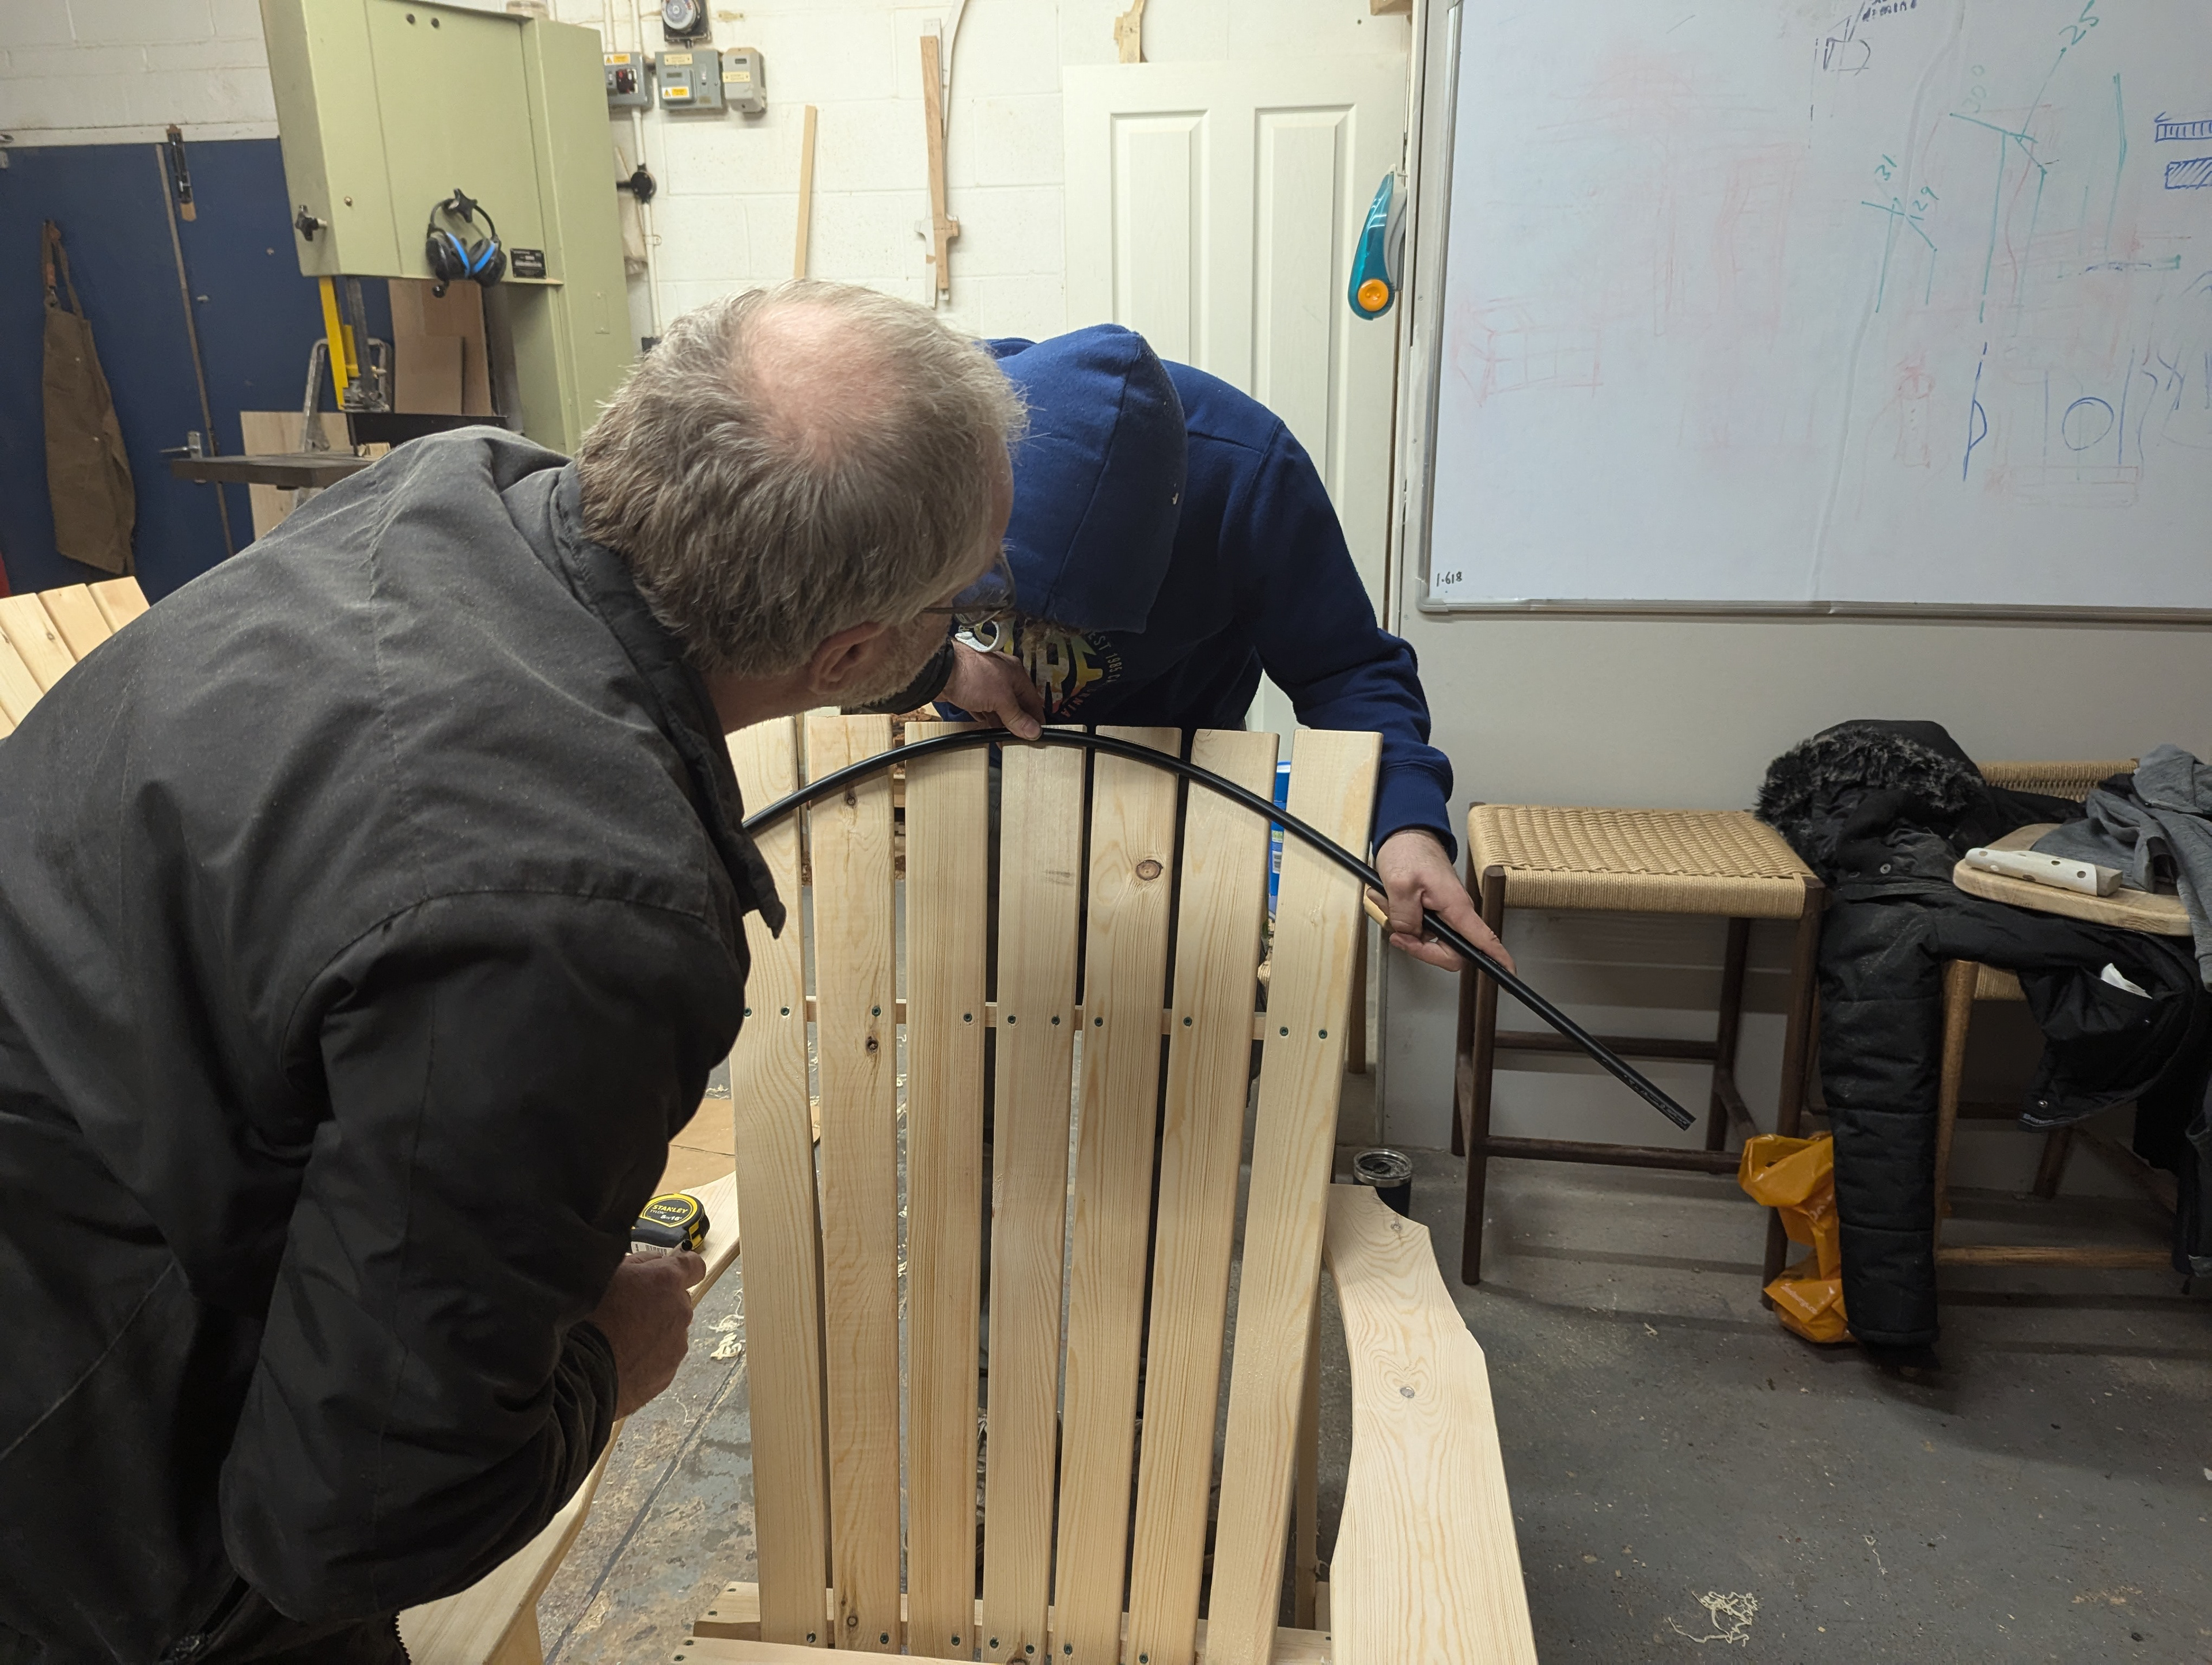
14. Place and secure other boards around it
Repeated process for all the other back slats ensuring they are spaced equally from the centre and that the screws are along the same line
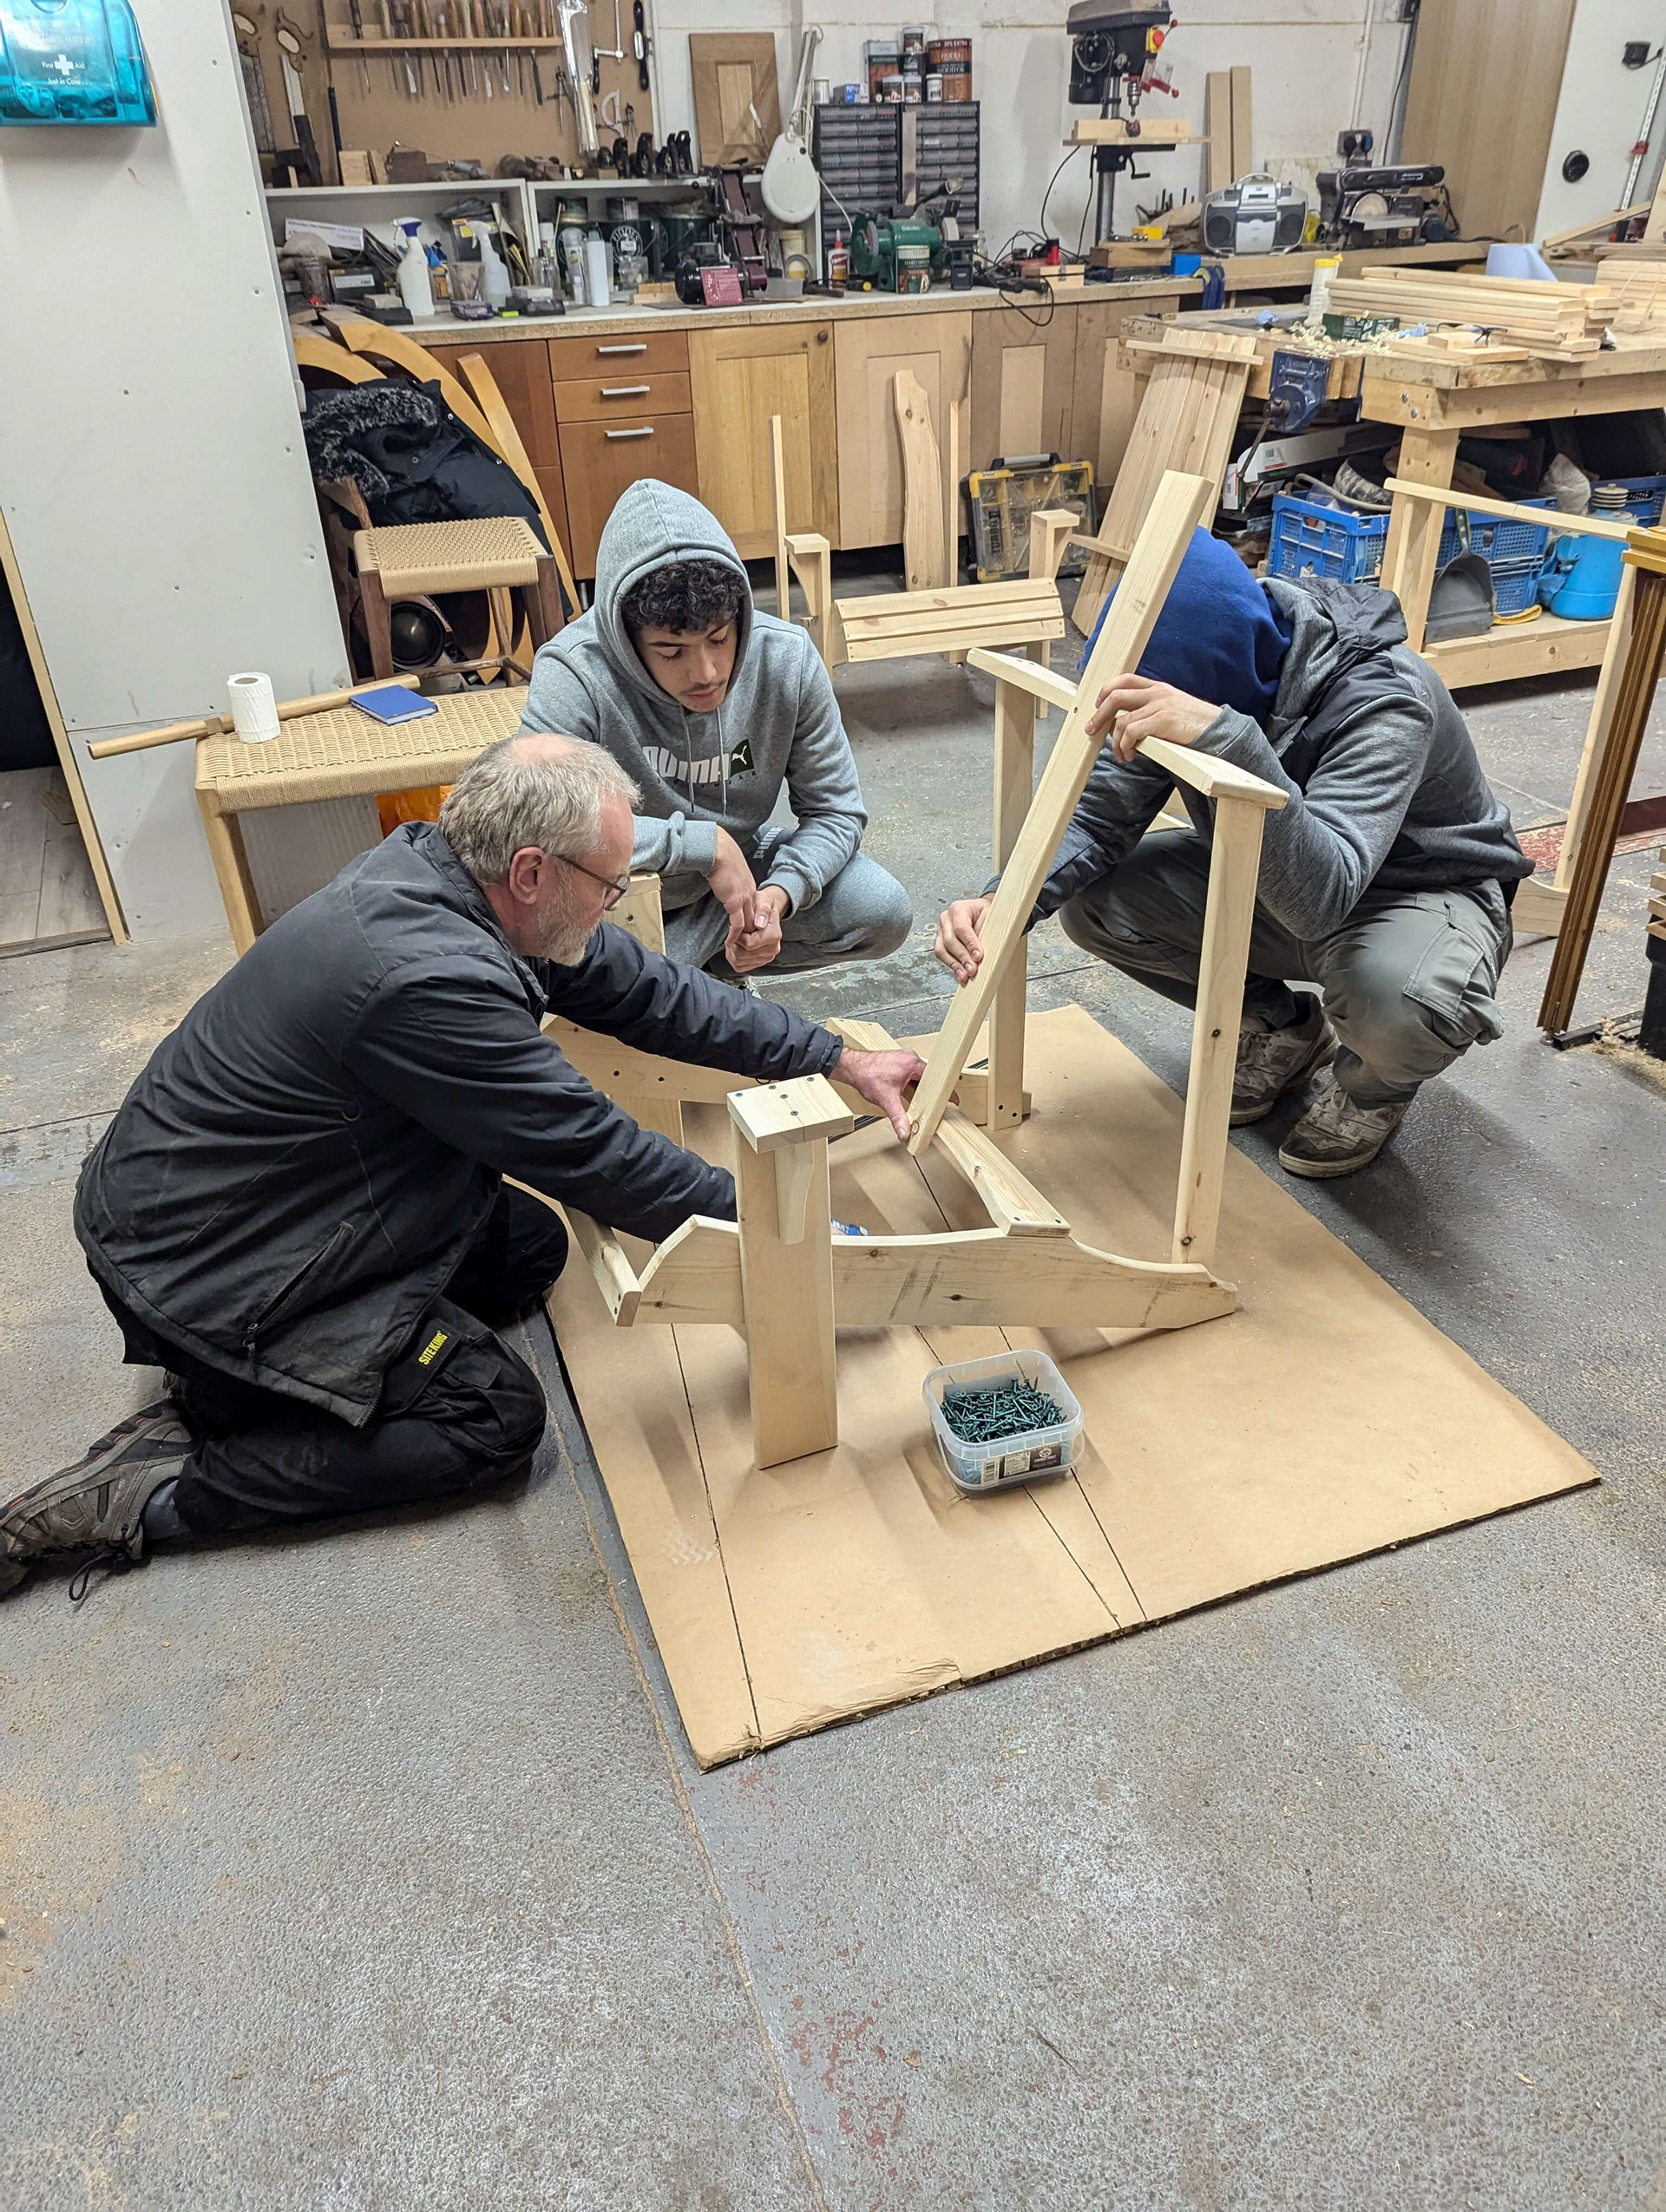
This was two-person job - one person hold it other person drill and screw
15. Secure seat slats
Finally secured seat slats aiming to place them evenly apart
Remembering some at the front were slightly larger
Large section done was right at the front where we wanted to minimise the angle to make it more comfortable
Planed down the front bit to ensure it was comfortable with hand planar
16. Attach arms
Marked out holes and attached the big arms both on the flat section at front and at the back for stability
Ensured it was symmetrical
17. Cutting the shape
Marked the top section in desired shape
Cut the shape of the top section using jig saw

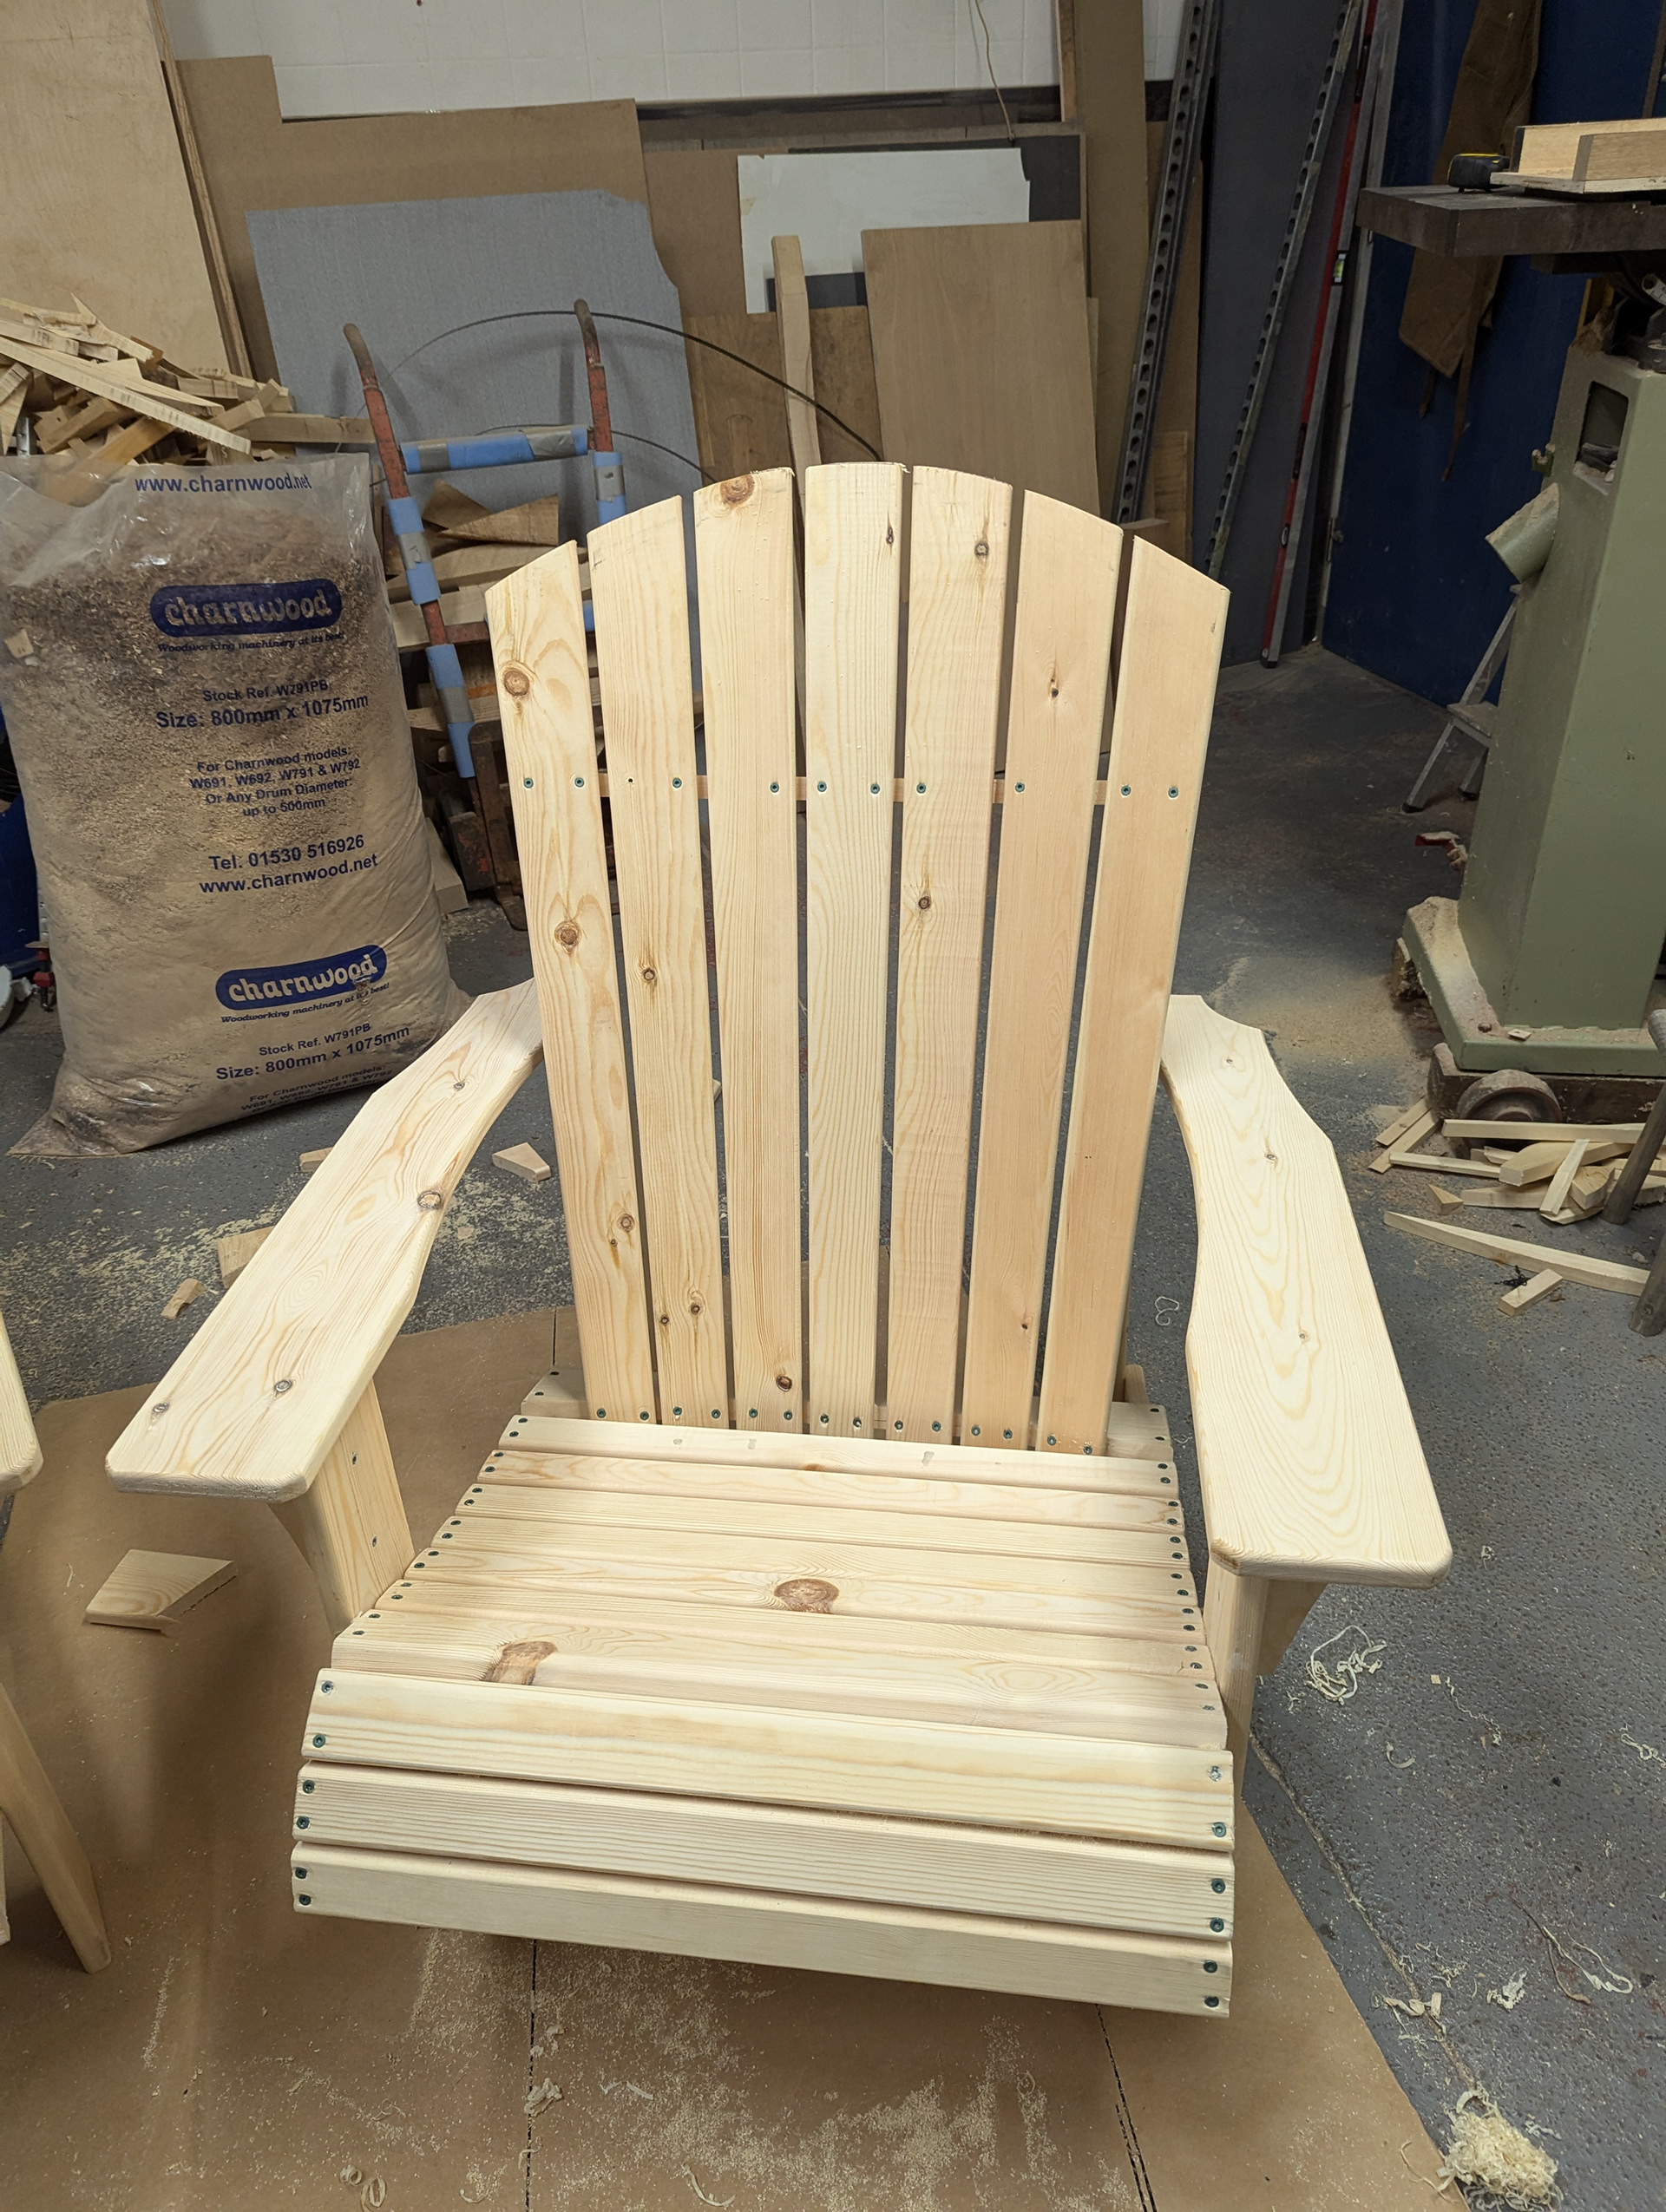
18. Selecting stain Finish
Explored decking oil to cover the individual bits of wood to ensure protection from the elements when used outside - to be completed at a later date


Chair Version ii: Adapting it to a rocking chair

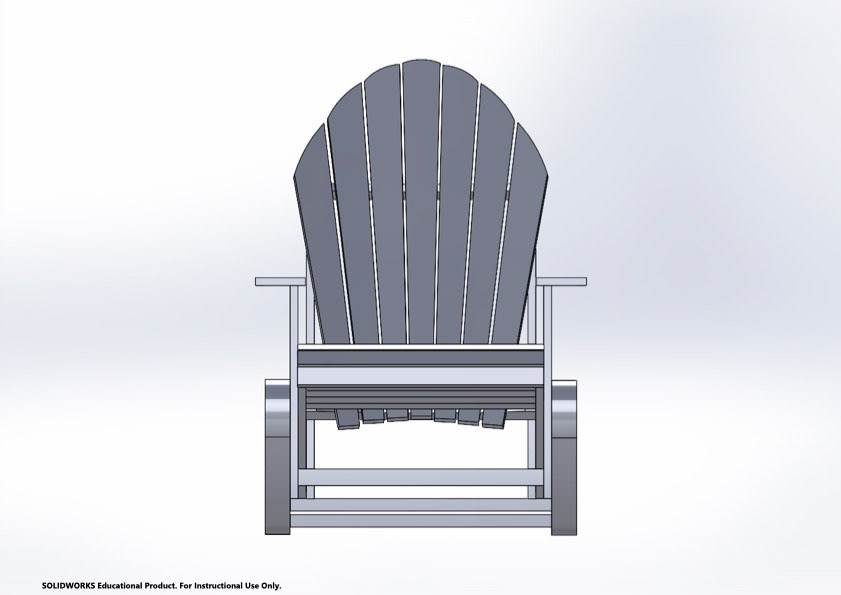
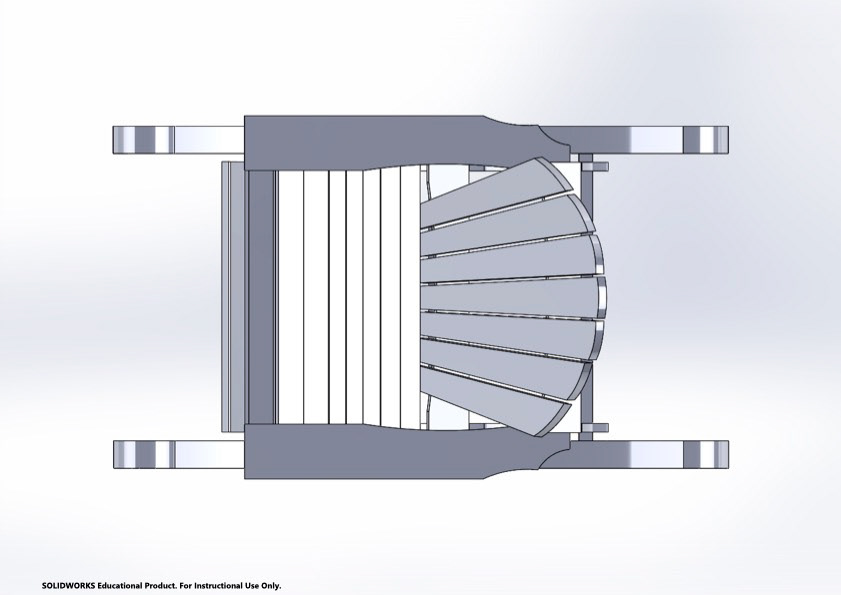
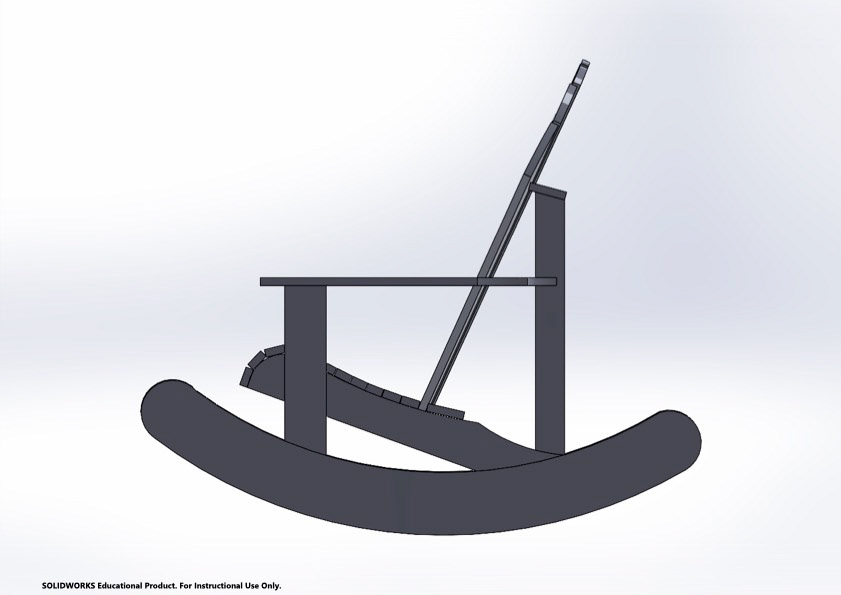

work in progress
3D Images in SolidWorks created by Tracey Kumi
Design Specification
Aesthetics:
Adirondack-style garden rocking chair
Show craftsmanship and beauty of materials
Spacious and comfortable
Wide arms for putting cups and small items on
Soothing rocking motion
Easy to stand up from sitting
Costs:
Cost of Pinewood
Cost of screws bolts nuts
Time taking to make
Workshop time
Customer:
Mother convalescing from treatments
For sun garden/day-chair in bedroom
Relaxing, socialising, reading and sewing
Good angle for sitting posture and use of back rest
Aesthetically pleasing, showing craftsmanship skills, quality build and natural materials
Environmental:
Using non-permanent fixtures so can be undone and cycle again
Using sustainably sourced pine wood – native to UK (low carbon footprint)
Environmentally friendly and non-toxic stains
Use of standard size nuts and screws
Size:
Large and spacious for all sizes (of family members and guests)
Smooth movement/tilt in rocking chair action to facility ease of standing up from same position
Safety:
Must be strong enough to hold a person's weight
Ergonomic design - for back support
No moving parts that could snag or catch fingers, etc
No use of toxic substances or materials (stains/glued )
Function:
Garden chair for lounging outside but also used for day room chair
Arms wide enough to hold cup, small plate, books and other small items
Smooth rocking motion
Easy sitting to standing action
Material:
Pinewood - UK sourced
Steel ( screws, nuts & bolts)
Non-Toxic glue for small piece supporting frame
Non-Toxic stain to protect chair when outside
Manufactured using power tools, bandsaw, mitre sore, router, planer, orbital drill.